

Wetrooms
Planning A Wetroom: The Practical Guide To Getting It Right First Time
Wetrooms look incredible and bring a hotel-style, spa feel into your home. If the idea of planning one feels overwhelming, the good news is: it’s very manageable when you focus on the essentials—layout, drainage falls, waterproofing (tanking), ventilation, and the right tiles. This guide walks you through each step so your wetroom looks stunning and performs flawlessly.
Plan the layout
Drain position, screens, zones, and access.
Get falls right
A consistent slope guides water to the drain.
Waterproof properly
Tanking + detailing = long-term protection.
Quick tip: Your wetroom’s success is mostly hidden behind the tiles: correct waterproofing and drainage gradients matter as much as the design.
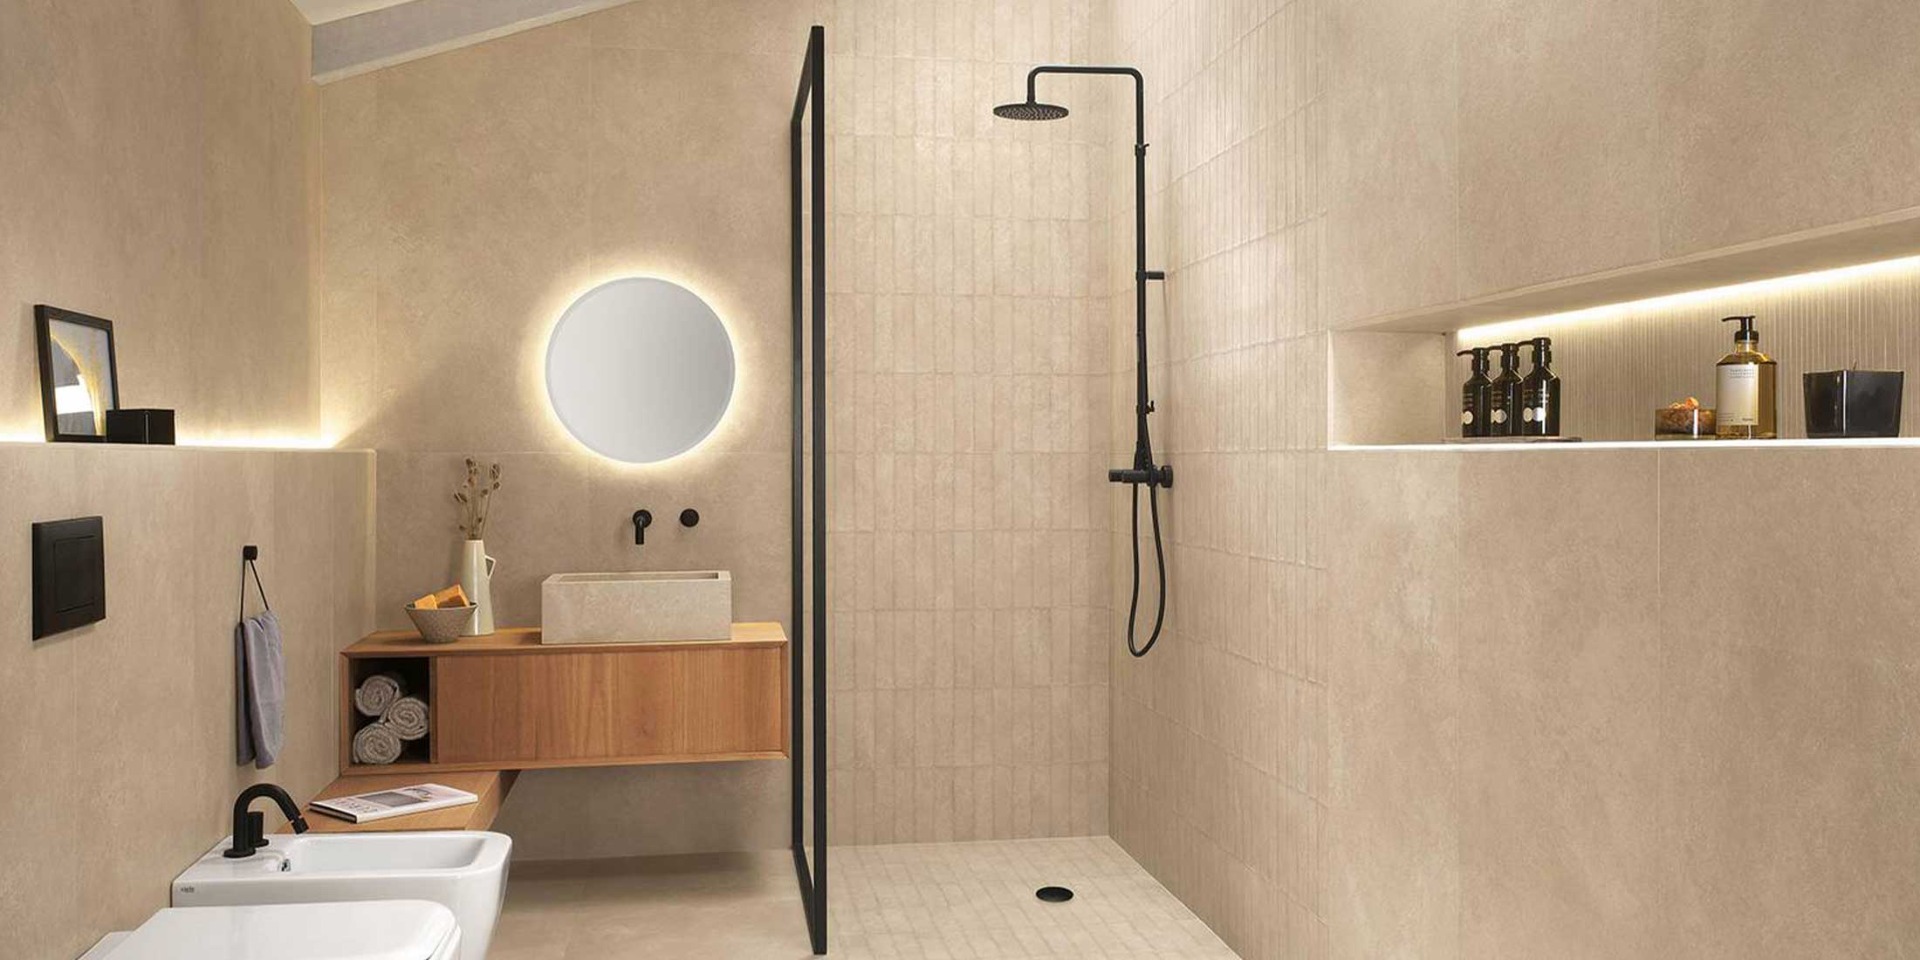
What Is A Wetroom?
A wetroom is a fully waterproof bathroom where the shower area is level with the rest of the floor—no raised tray. The floor is formed with a gentle slope (falls) so water naturally runs into a drain. All wet-zone walls and the floor are tanked and sealed to create a watertight “envelope”.
Typical wetroom elements
- Wetroom former or graded screed (creates the slope)
- Point drain or linear drain
- Tanking system (membrane / liquid tanking + tape)
- Slip-resistant floor tiles + suitable adhesive & grout
Why the slope matters
The fall needs to be consistent—steep enough to clear water, but not so steep it feels uncomfortable underfoot. Many wetroom guidance sources cite falls typically around 1:40 to 1:60, and broader ranges like 1:35 to 1:80 depending on the drain type and design.
Why Choose A Wetroom?
Luxury looks
Wall-to-floor tiling creates a clean, premium finish that feels like a boutique hotel or spa.
Space saving
Perfect for smaller bathrooms—an open layout can make the room feel larger.
Accessibility
Level-access showering reduces trip hazards and can be ideal for mobility needs.
Also: wetrooms can be easier to maintain day-to-day because there are fewer ledges and joins for grime to build up—provided you pair good ventilation with suitable grout and sealants.
How To Plan A Wetroom (Step-by-Step)
-
1) Measure and zone the space
Note wall-to-wall sizes, door swing, window positions, and where services already are. Then decide your “wet zone” (shower area) and your “dry zone” (toilet/vanity).
-
2) Choose drain type: point vs linear
Point drains typically sit centrally or near a corner and can require multi-directional falls. Linear drains can simplify the fall direction (often a single plane), which can be helpful with larger-format tiles.
-
3) Confirm falls (the slope to the drain)
Aim for a gentle, consistent gradient so water clears quickly. Many wetroom specifications reference falls in the region of 1:40–1:60, with broader guidance such as 1:35–1:80 depending on design and drain choice.
Practical design tip
If you want larger floor tiles, consider a linear drain or a purpose-made wetroom former—this can reduce awkward “lipping” and make the tiling layout cleaner.
-
4) Plan waterproofing (tanking) before you pick finishes
Waterproofing is not optional in a wetroom. A tanking system typically includes membrane or liquid tanking, joint tape, corner pieces, and careful sealing around penetrations (pipes, mixers, niches).
-
5) Don’t ignore ventilation
Bathrooms and shower rooms need extract ventilation to control condensation and reduce mould risk. UK guidance for ventilation is covered in Approved Document F and planning guidance notes that bathrooms should be provided with extract ventilation.
Many practical summaries of Part F reference minimum intermittent extraction rates around 15 litres/second for bathrooms.
-
6) Pick the right tiles (looks + safety)
For wetroom floors, prioritise slip resistance and easy cleaning. Many tile retailers and technical guides explain the R rating (R9–R13) used to indicate slip resistance. R10/R11 are often used in domestic wet areas, while higher ratings may be used where the floor is regularly saturated.
-
7) Choose compatible adhesives, grout, and sealants
Wetrooms are demanding environments—use products designed for wet areas and follow manufacturer guidance for curing times, waterproofing layers, and compatible systems.
Wetroom planning checklist
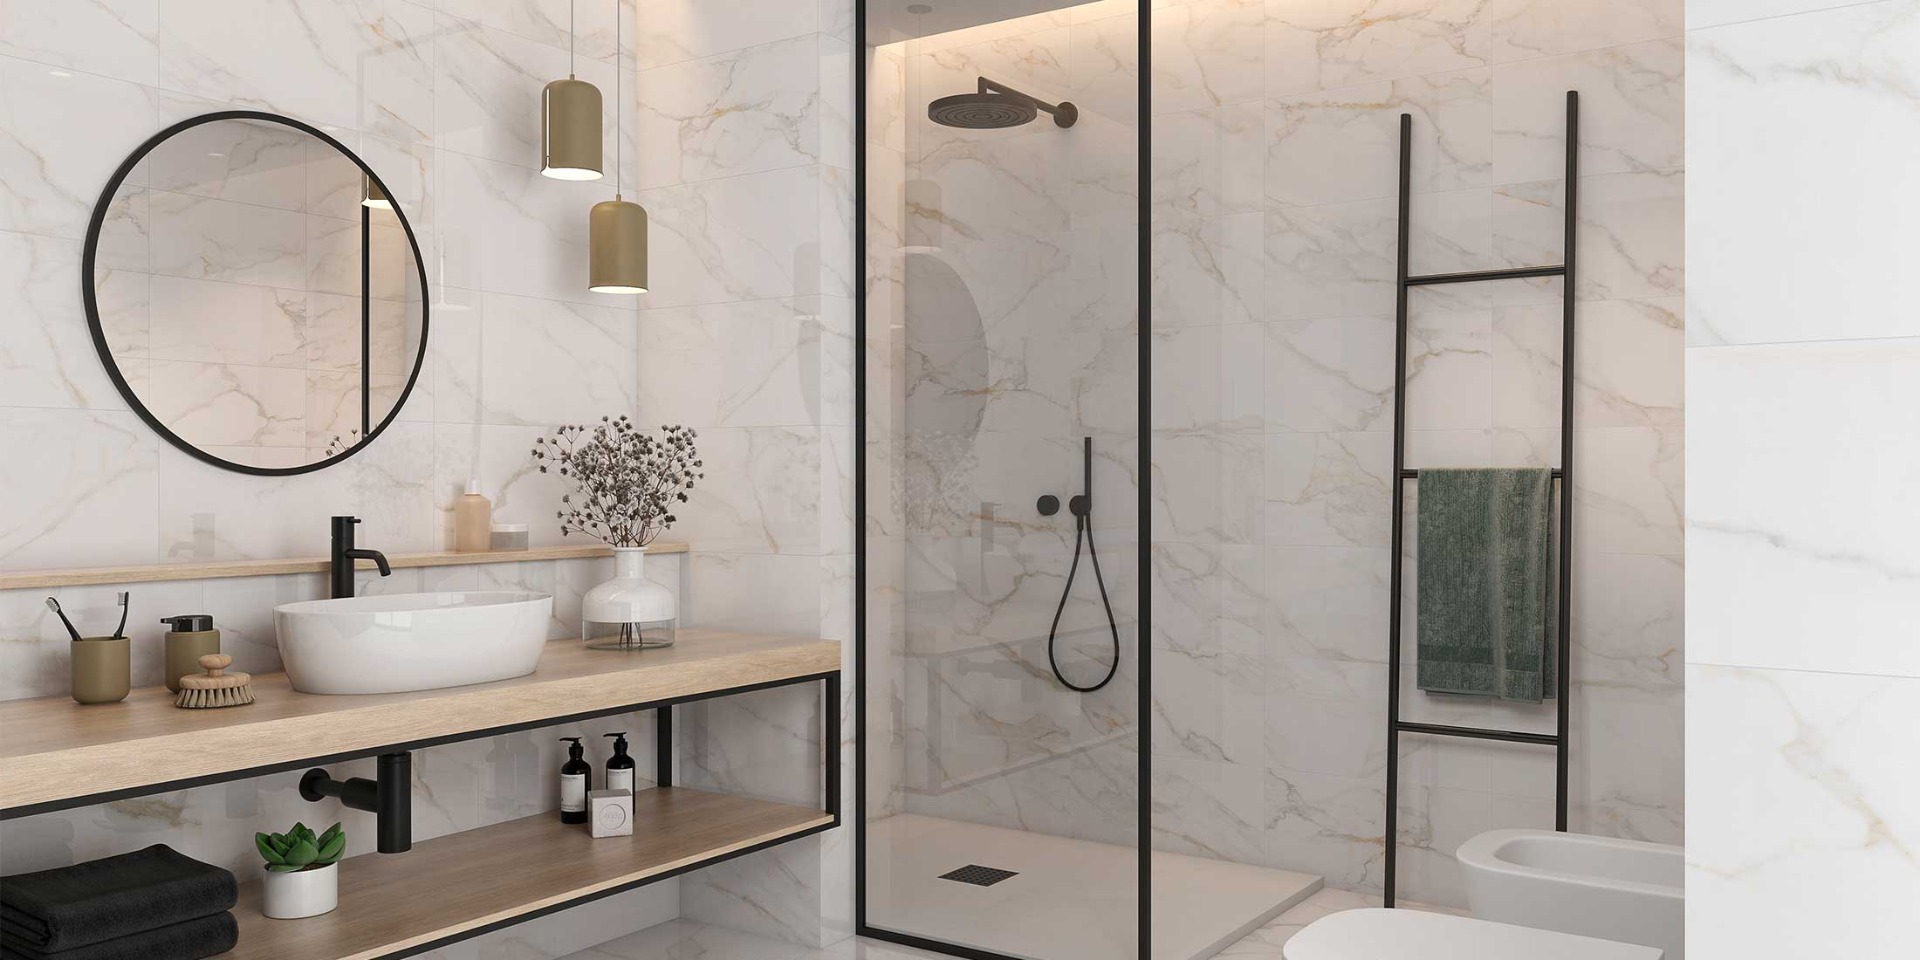
What You’ll Need (Materials & Finishes)
Bathroom & Wetroom Tiles
Choose wall tiles for style, and slip-resistant floor tiles for safety.
Tanking & Waterproofing Kits
Essential for wetrooms—membranes, tapes, corners, and sealing components.
Tile Adhesive
Use adhesives designed for wet areas and compatible with your tile type.
Grout & Sealants
Pick mould-resistant options and colour tones that complement your tiles.
Design tip: In smaller wetrooms, lighter tiles and larger formats can make the space feel bigger, but balance this with practical slip resistance on the floor.
Frequently Asked Questions
Marked up with FAQPage microdata (Schema.org) for rich results eligibility.
What slope (fall) should a wetroom floor have?
Do I need to tank (waterproof) the whole room?
What slip rating should I choose for wetroom floor tiles?
Do wetrooms need extractor fans in the UK?
Are wetrooms suitable for small bathrooms?
What’s the most common wetroom planning mistake?
Ready to start your wetroom?
Explore wetroom-ready tiles, tanking systems, adhesives and grout to build a finish that looks premium and lasts.


