How to deactivate Python venv

PythonBeginner
Practice Now

Introduction

Python virtual environments are essential for managing project dependencies in isolation. This tutorial will guide you through the process of deactivating a virtual environment, allowing you to switch between projects and maintain a clean development workflow.

Understanding Virtual Environments

Before deactivating, let's quickly review what a virtual environment is and why it's important.

A virtual environment is a self-contained directory that holds a specific Python version and its associated packages. This isolation prevents conflicts between different projects that might require different versions of the same package.

Why use virtual environments?

  • Isolation: Keeps project dependencies separate.
  • Version Management: Allows using different Python versions for different projects.
  • Reproducibility: Ensures consistent environments across different machines.

Let's create a virtual environment for demonstration purposes. Open your terminal and execute the following commands:

sudo apt update
sudo apt install -y python3.10-venv

Now, create a virtual environment in your current directory (/home/labex/project):

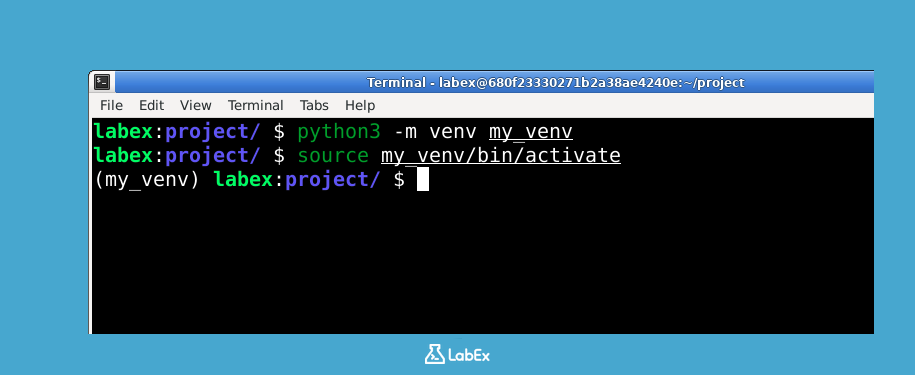
python3 -m venv my_venv

This command creates a directory named my_venv containing the virtual environment files.

Now, activate the virtual environment:

source my_venv/bin/activate

You'll notice that your terminal prompt changes to indicate that the virtual environment is active (e.g., (my_venv) labex:project/ $).

Deactivating the Virtual Environment

Deactivating a virtual environment is straightforward. Simply use the deactivate command.

In your terminal, type:

deactivate

After running this command, your terminal prompt will return to its original state, indicating that the virtual environment is no longer active.

Verification:

To confirm that the virtual environment is deactivated, you can check the which python command.

which python
/usr/bin/python

If the virtual environment is deactivated, the path should point to the system's Python installation, not the one within the virtual environment.

Switching Between Projects

One of the main reasons for using virtual environments is to easily switch between different projects with different dependencies.

Let's simulate this scenario. Assume you have two projects, project_a and project_b, each with its own virtual environment.

First, let's create a directory for project_a and its virtual environment.

mkdir project_a
cd project_a
python3 -m venv venv_a

Now, activate the virtual environment for project_a:

source venv_a/bin/activate

You should see (venv_a) in your terminal prompt.

Now, let's create a directory for project_b and its virtual environment. First, deactivate the current environment and navigate back to the project root directory.

deactivate
cd ..
mkdir project_b
cd project_b
python3 -m venv venv_b

Now, activate the virtual environment for project_b:

source venv_b/bin/activate

You should see (venv_b) in your terminal prompt.

By following this pattern of deactivating the current environment and then activating the desired environment, you can seamlessly switch between projects without any dependency conflicts.

Cleaning Up

To clean up the virtual environments created during this lab, you can simply remove the directories.

First, ensure you are not inside any virtual environment. If you see a virtual environment name in your prompt (like (venv_b)), deactivate it:

deactivate

Now, navigate back to the main project directory if you are not already there:

cd /home/labex/project

Finally, remove the virtual environment directories:

rm -rf my_venv project_a project_b

This command will remove the my_venv, project_a, and project_b directories and their contents, including the virtual environments.

Summary

In this lab, you have learned how to deactivate a Python virtual environment using the deactivate command. You also explored the importance of virtual environments for managing project dependencies and how to switch between different project environments effectively. This skill is crucial for maintaining a clean and organized development workflow.