


Tutorial: Lightening images
First off, I'm sorry it's been so long since I last posted a tutorial! I was doing tech support for another graphics app, so I naturally didn't want to do any more tutorials on my off time. But I've switched jobs, so here it goes.
 wandersfound asked for assistance lightening an image. I have combined suggestions on that post with some of my favorites for the following tutorial.
If you have a dark image, there are a few things you can try to bring out the highlights. Of course, not every image can be rescued from underexposure or bad lighting, but we can sure try.
Here's the image we're starting with: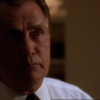
( Collapse )
Things to keep in mind:
- Every image is different. I can't stress that enough.
- Combine methods! If one doesn't get it light enough, duplicate the layer and try another method on top.
- You could always mix layers, too: change the opacity or mode of another lightened layer and see if that gets the effect you want.
- Sometimes the image is just too low quality: if the resolution isn't high enough, there isn't enough data to turn shadows into midtones, and the result is grainy or otherwise unpleasant. Try finding another cap with a higher resolution, or brighten the image before scaling it down.
wandersfound asked for assistance lightening an image. I have combined suggestions on that post with some of my favorites for the following tutorial.If you have a dark image, there are a few things you can try to bring out the highlights. Of course, not every image can be rescued from underexposure or bad lighting, but we can sure try.
Here's the image we're starting with:
( Collapse )
Things to keep in mind:
- Every image is different. I can't stress that enough.
- Combine methods! If one doesn't get it light enough, duplicate the layer and try another method on top.
- You could always mix layers, too: change the opacity or mode of another lightened layer and see if that gets the effect you want.
- Sometimes the image is just too low quality: if the resolution isn't high enough, there isn't enough data to turn shadows into midtones, and the result is grainy or otherwise unpleasant. Try finding another cap with a higher resolution, or brighten the image before scaling it down.

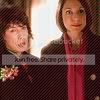



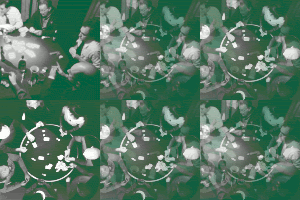 from
from  and
and 


 to this:
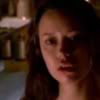 to
to 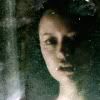 in 6 easy steps.