1. Getting started
To start, let's cover how to display a SolidWire mesh inside of a new/existing Unity project.
- From within Unity, go to Assets -> Import package -> Custom package, and import the SolidWire.unitypackage found in the dist directory of this repository. Import all files from it.
- In the Unity assets, navigate to the Meshes -> SolidWire folder you just imported, and drag the Example mesh to your Scene.
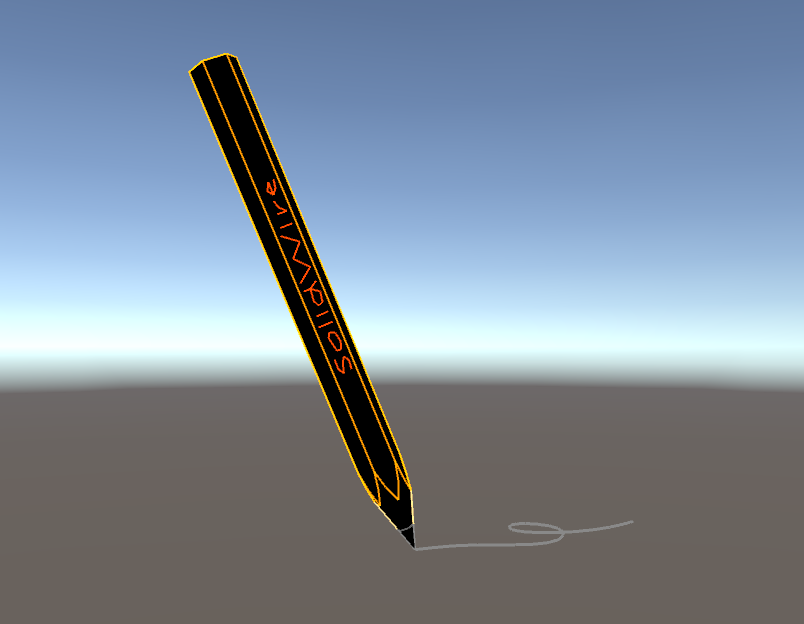
- If you select the Example object you just created, you will see it has been given a SolidWire script automatically. All meshes placed inside of Meshes -> SolidWire will have this applied to them.
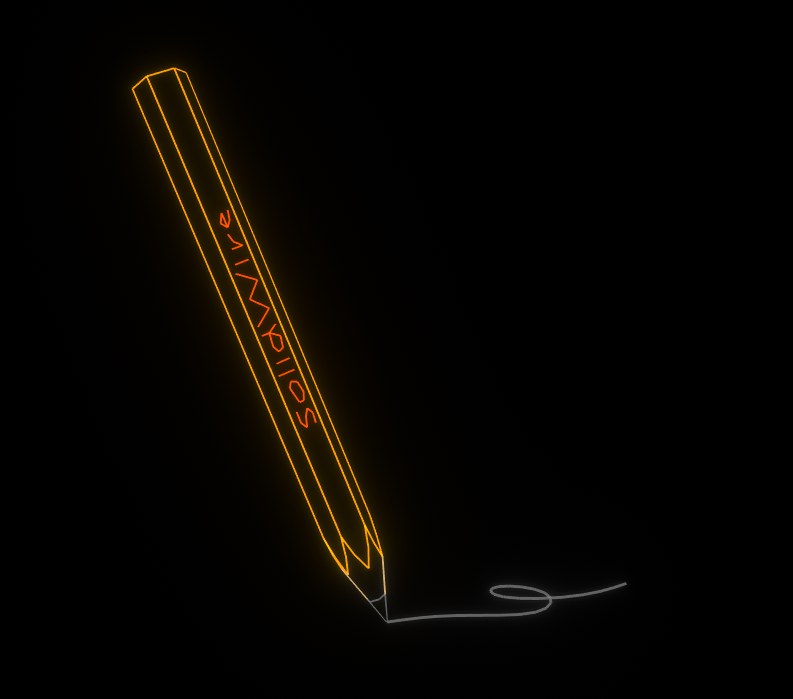
SolidWire looks best with a bit of post-processing (the edges in the above example are quite pixelated). This can be accomplished using Unity's Post Processing package.
- Go to Assets -> View in Package Manager
- Search for "post processing", and install the package that comes up.
- Go into the Prefabs asset folder and drag in the SolidWireCamera (Warning: the camera depends on Post Processing being installed. Do not insert it until it is). This camera will:
- Set the Scene background to a solid black.
- Apply a glow (bloom) to the Scene (you can tweak this by modifying the Profiles -> SolidWire asset).

You can stop here, however, if your project can afford it, you can greatly reduce the jaggedness of the edges further by going into Edit -> Project Settings -> Quality and setting Anti Aliasing to 8x Multi Sampling:
In the next section, we will cover how to make your own SolidWire meshes.
