Introduction
Hey Future Game Designer!
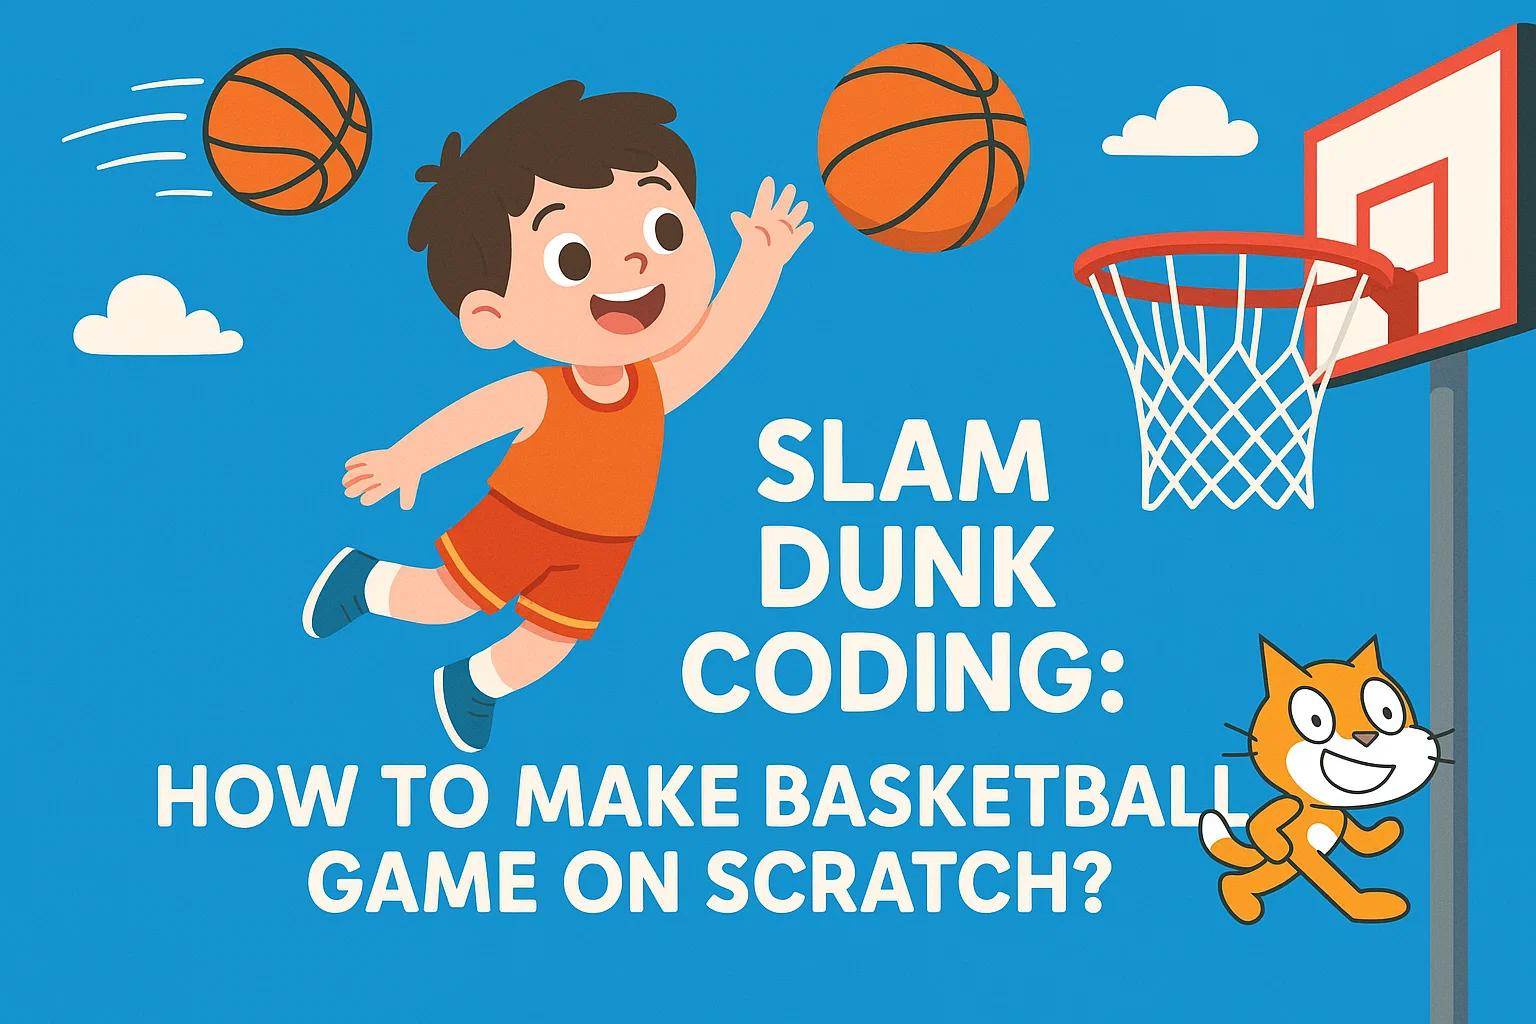
Have you ever wanted to create your own video game? Well, get ready, because today we’re going to learn how to code an awesome basketball game on Scratch! Scratch is a super fun and easy way to learn coding by snapping colorful blocks together, almost like digital LEGOs. You don’t need to be a coding expert—just bring your imagination and a love for basketball! Our goal is simple: to make a game where you can control a player and shoot a basketball into a hoop. You’ll learn about sprites, backdrops, motion, and how to keep score. By the end of this, you’ll be a game-coding superstar!
Step By Step Guide to make a basket ball game on Scratch
Here is the step by step guide to make a basket ball game in Scratch:
Step 1: Set the Scene with Sprites and Backdrops
Every great game needs a great setting and great characters. In Scratch, your characters and objects are called Sprites, and your background is called the Backdrop.
- Choose Your Backdrop: Click on the “Choose a Backdrop” button (it looks like a little picture icon) in the bottom-right corner of your screen. Go to the Sports category and pick the “Basketball 2” backdrop. Now your game has a cool court!
- Choose Your Sprites: Delete the default Scratch Cat sprite. Now, click on the “Choose a Sprite” button (it looks like a cat head). Find a player sprite you like, such as “Dorian” or “Andie”, and add the “Basketball” sprite.
- Resize and Position: The sprites might be too big! Click on each sprite and change the Size number in the Sprite Info panel. Try setting your player to 70% and the basketball to 40%. Then, drag your player and the ball to where you want them to start. A good spot is near the free-throw line.
Step 2: Get the Game Started (The Green Flag)
We need to tell the game where everything should start every time we click the Green Flag (which is how you start a Scratch game).
- Start the Player: Click on your player sprite. Drag out the when green flag clicked block from the Events category (it’s yellow). Then, go to the Motion category (it’s blue) and drag out the go to x: [ ] y: [ ] block. The numbers in this block will automatically be set to where you dragged your player in Step 1. Snap these two blocks together.
- .Start the Ball: Click on the Basketball sprite.
- Do the same thing: use a when the green flag clicked block and a go to x: [ ] y: [ ] block. Make sure the ball’s starting position is right in your player’s hands!
| Block Category | Block Name | Purpose |
| Events | when green flag clicked | Starts the code when the game begins. |
| Motion | go to x: [ ] y: [ ] | Sets the sprite’s starting location. |
Step 3: Make the Ball Shoot! (The Action)
This is the most exciting part—making the ball fly toward the hoop! We will use the glide block to make the movement look smooth.
1.The Trigger: Click on the Basketball sprite. We want the ball to shoot when you press a key. Go to Events and drag out the when [space] key pressed block. You can change space to any key you like, like the up arrow.
2.The Shot: Go to Motion and find the glide [1] secs to x: [ ] y: [ ] block.
- First Glide (The Shot): Drag the ball to the spot right above the hoop where you want it to go. Note the x and y coordinates. Use a glide block to move the ball to this spot in about 0.5 seconds.
- Second Glide (The Return): Drag the ball back to the player’s hands. Use a second glide block to move the ball back to the starting position (the same coordinates you used in Step 2) in about 0.3 seconds.
- Snap these three blocks together: when [key] pressed -> glide (shot) -> glide (return).
Step 4: Score! Score! Score! (The Points)
What’s a game without points? We need a way to keep track of your successful shots.
1.Create a Score Variable: Go to the Variables category (it’s orange) and click “Make a Variable”. Name it “Score”. Make sure it’s available for all sprites.
2.Reset the Score: Go back to the player’s code (or the ball’s code) and add the set [Score] to [0] block right under the when green flag clicked block. This makes sure your score is zero when a new game starts.
3.Check for a Score: Now, back on the Basketball sprite, we need to check if the ball made it in. We can check if the ball is touching the color of the hoop’s rim.
- Use a forever loop from the Control category (it’s yellow-orange).
- Inside the loop, use an if < > then block.
- Inside the < > shape, use the touching color [ ]? block from the Sensing category (it’s light blue). Click the color box and use the eyedropper tool to select the color of the hoop’s rim.
- Inside the if block, use the change [Score] by [1] block from Variables.
- Pro Tip: To make sure you only score once per shot, you might want to add a small wait [0.1] seconds block after changing the score.
| Block Category | Block Name | Purpose |
| Variables | make a variable | Creates a place to store numbers, like your score. |
| Variables | set [Score] to [0] | Makes the score zero at the start. |
| Control | forever | Keeps checking for a score the whole time the game is running. |
| Sensing | touching color [ ]? | Checks if the sprite is touching a specific color (like the hoop’s rim). |
| Variables | change [Score] by [1] | Adds a point to your score! |
You Did It!
Congratulations! You just built your very own basketball game in Scratch! You are officially a game-coding superstar. Now you can challenge your friends to see who can get the highest score.
Your Next Coding Challenge:
Want to make your game even cooler? Try adding these features:
- Sound Effects: Add a “swish” sound when you score! (Look in the Sound category).
- A Timer: Can you add a variable to count down from 30 seconds? (Look in the Control category for wait blocks).
- A Second Player: Can you make the player move left and right using the arrow keys? (Look for change x by [ ] in the Motion category).
- Keep coding, keep creating, and keep having fun! Happy coding with Codingal!