Setup
npm
npm install @nestjs/common @nestjs/core @nestjs/platform-express
npm install @autobe/agent @autobe/compiler @autobe/interface
npm install @autobe/rpc tgrid

npm install -D nestia
npx nestia setupTo develop NestJS WebSocket server of @autobe, you need to setup these packages.
At first, install NestJS packages, @autobe/agent, @autobe/compiler and @autobe/interface packages.
At next, install @autobe/rpc and tgrid packages. tgrid is a TypeScript based RPC (Remote Procedure Call) framework supporting WebSocket protocol, and @autobe/rpc is an wrapper module of @autobe/core following the WebSocket RPC.
At last, install nestia package add devDependencies, and run npx nestia setup command. @nestia is a set of helper libraries for NestJS, and it supports WebSocket protocol that is following the RPC (Remote Procedure Call) paradigm.
Bootstrap
import { WebSocketAdaptor } from "@nestia/core";
import { INestApplication } from "@nestjs/common";
import { NestFactory } from "@nestjs/core";

import { ChatModule } from "./chat.module";

const app: INestApplication = await NestFactory.create(ChatModule);
await WebSocketAdaptor.upgrade(app);
await app.listen(3_001, "0.0.0.0");
To activate WebSocket protocol in NestJS, you have to upgrade the NestJS application by WebSocketAdaptor.upgrade() function. The upgrade function will make NestJS application to support both HTTP and WebSocket protocols.
API Controller
import { AutoBeAgent } from "@autobe/agent";
import { AutoBeCompiler } from "@autobe/compiler";
import { IAutoBeRpcListener, IAutoBeRpcService } from "@autobe/interface";
import { AutoBeRpcService } from "@autobe/rpc";
import { WebSocketRoute } from "@nestia/core";
import { Controller } from "@nestjs/common";
import OpenAI from "openai";
import { WebSocketAcceptor } from "tgrid";

@Controller("chat")
export class ChatController {
  @WebSocketRoute()
  public async start(
    // @WebSocketRoute.Param("id") id: string,
    @WebSocketRoute.Acceptor()
    acceptor: WebSocketAcceptor<
      null, // header
      IAutoBeRpcService, // provider to remote
      IAutoBeRpcListener // controller of remote
    >,
  ): Promise<void> {
    const agent: AutoBeAgent<"chatgpt"> = new AutoBeAgent({
      model: "chatgpt",
      vendor: {
        api: new OpenAI({ apiKey: "********" }),
        model: "gpt-4.1",
      },
      compiler: new AutoBeCompiler(),
    });
    const service: AutoBeRpcService<"chatgpt"> = new AutoBeRpcService({
      agent,
      listener: acceptor.getDriver(),
    });
    await acceptor.accept(service);
  }
}
You can finalize WebSocket server development like above.
At first, create a controller method decorated by @WebSocketRoute(). And in the controller method, define a parameter that is decorated by @WebSocketRoute.Acceptor() with the type of WebSocketAcceptor specializing IAutoBeRpcService and IAutoBeRpcListener types.
And in the controller method body, create an AutoBeAgent instance and wrap it into a new AutoBeRpcService instance. And then accept the client connection by calling the WebSocketAcceptor.accept() function with the AutoBeRpcService instance.
When you’ve completed the acceptance, everything is completed. When client calls the IAutoBeRpcService.conversate() function remotely, server will response to the client by calling the IAutoBeRpcListener functions remotely too.
Software Development Kit
Outline
npm
npx nestia sdkInteraction library for client application built by @nestia/sdk.
If you configure nestia.config.ts file and run npx nestia sdk command, @nestia/sdk will generate an SDK (Software Development Kit) library for frontend application which can interact with the backend server, by analyzing your NestJS backend server source codes in the compilation level.
With the SDK library, client application developer can interact with your backend server type safely and conveniently. No more manual interaction code writing is required. Let the client application developer to import the SDK library, and just call the functions embedded in the SDK library.
Configuration
undefined
import { INestiaConfig } from "@nestia/sdk";
import { NestFactory } from "@nestjs/core";
// import { FastifyAdapter } from "@nestjs/platform-fastify";

import { YourModule } from "./src/YourModule";

const NESTIA_CONFIG: INestiaConfig = {
  input: async () => {
    const app = await NestFactory.create(YourModule);
    // const app = await NestFactory.create(YourModule, new FastifyAdapter());
    // app.setGlobalPrefix("api");
    // app.enableVersioning({
    //     type: VersioningType.URI,
    //     prefix: "v",
    // })
    return app;
  },
  output: "src/api",
};
export default NESTIA_CONFIG;Make nestia.config.ts file in the root scope of your NestJS backend server, and configure like above.
You have to configure two things, property input and output. Write a callback function mounting an NestJS application instance with your module specification to the input property, and write destination directory path to the output property.
After that, just run npx nestia sdk command, then SDK library would be generated.
Demonstration
Main Program
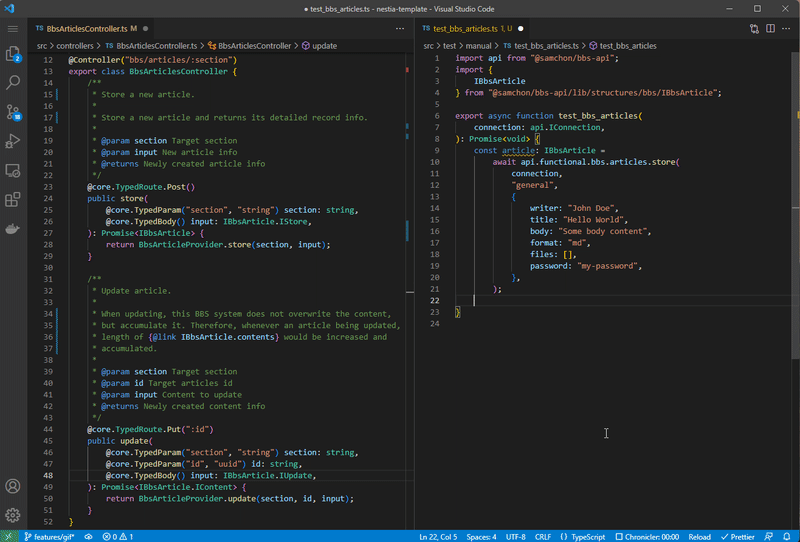
import { IAutoBeRpcListener } from "@autobe/rpc";
import api, { IConnection } from "@ORGANIZATION/PROJECT-api";

const { connector, driver } = await api.functional.chat.start(
  {
    host: "http://localhost:30001",
  } satisfies IConnection,
  {
    assistantMessage: async (evt) => {
      console.log("assistant", evt.text);
    },
    analyzeComplete: async (evt) => {
      console.log("analyze completed", evt.files);
    },
    prismaComplete: async (evt) => {
      console.log("prisma completed", evt.schemas);
    },
    interfaceComplete: async (evt) => {
      console.log("interface completed", evt.schemas);
    },
  } satisfies IAutoBeRpcListener,
);

await driver.conversate("Hello, what can you do?");

await connector.close();Here is the demonstration of SDK library generation and its usage.
As you can see, client application developers can interact with the WebSocket server of the AI chatbot, type safely and conveniently, just by importing and calling the SDK library.