
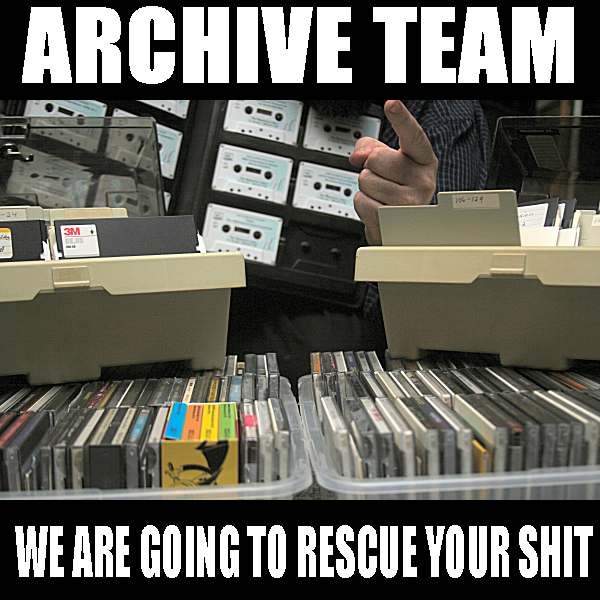
 Formed in 2009, the Archive Team (not to be confused with the archive.org Archive-It Team) is a rogue archivist collective dedicated to saving copies of rapidly dying or deleted websites for the sake of history and digital heritage. The group is 100% composed of volunteers and interested parties, and has expanded into a large amount of related projects for saving online and digital history.

Create a fully qualified domain name in the Azure portal for a Linux VM


When you create a virtual machine (VM) in the Azure portal, a public IP resource for the virtual machine is automatically created. You use this IP address to remotely access the VM. Although the portal does not create a fully qualified domain name, or FQDN, you can add one once the VM is created. This article demonstrates the steps to create a DNS name or FQDN.
Create a FQDN
This article assumes that you have already created a VM. If needed, you can create a VM in the portal or with the Azure CLI. Follow these steps once your VM is up and running:
Select your VM in the portal. Under DNS name, click Configure.

Enter the desired DNS name and then select Save.

To return to the VM overview blade, close the Public IP address blade. Verify that the DNS name is now shown.
You can now connect remotely to the VM using this DNS name such as with ssh azureuser@mydns.westus.cloudapp.azure.com.
Next steps
Now that your VM has a public IP and DNS name, you can deploy common application frameworks or services such as nginx, MongoDB, Docker, etc.
You can also read more about using Resource Manager for tips on building your Azure deployments.