SwiftUI: how to create a Tab View
By Flavio Copes
Learn how to create a tab bar in SwiftUI with TabView, adding each screen with the tabItem modifier and a Label so users can switch by tapping an icon.
To create a tab view in SwiftUI you wrap your screens in a TabView, and you give each one a tabItem modifier with the label and icon to show in the tab bar.
It’s common in iOS apps to use a Tab View. The one with a few choices at the bottom, and you can completely switch what’s in the screen by tapping the icon / label.
Here’s the simplest possible example of a TabView:
import SwiftUI

struct ContentView: View {

    var body: some View {
        TabView {
            Text("First")
                .tabItem {
                    Label("First", systemImage: "tray")
                }

            Text("Second")
                .tabItem {
                    Label("Second", systemImage: "calendar")
                }
        }
    }
}
And here’s the result:
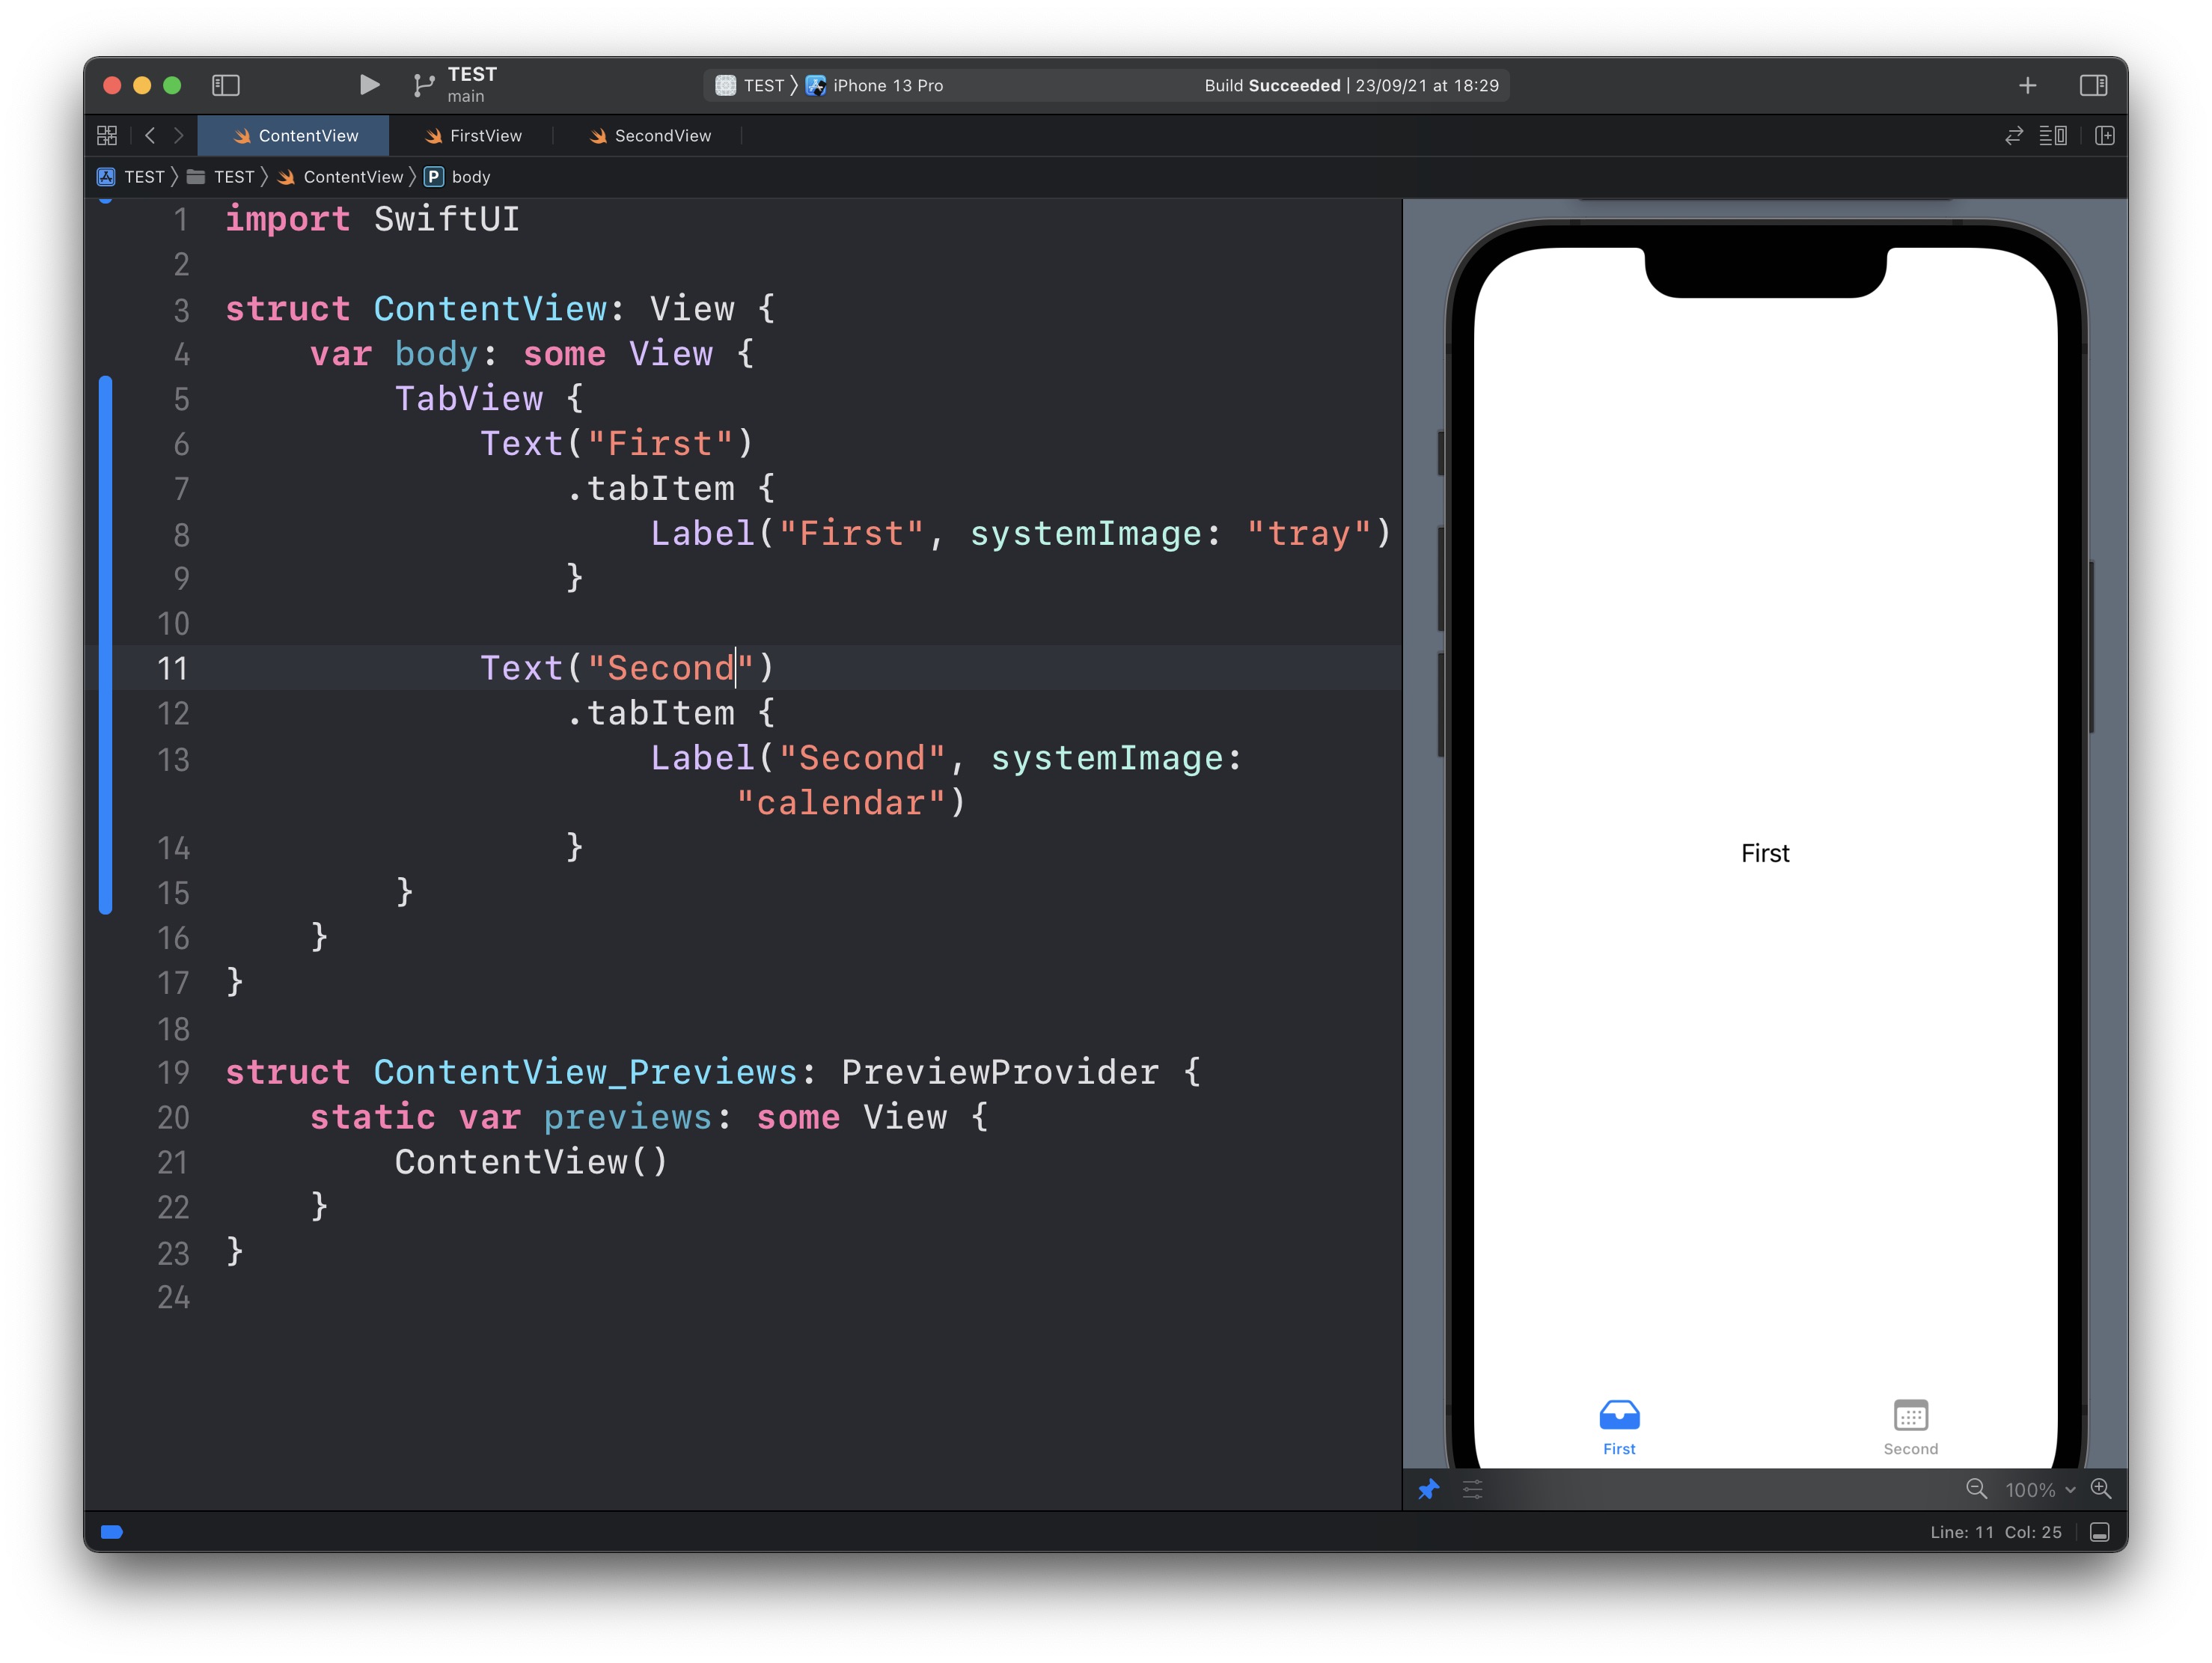
See? We have a TabView view, and inside it, we have 2 views.
Both are Text views to make it simple.
Their tabItem modifier will add them to the TabView with a label provided as a Label view.
The systemImage parameter takes the name of an SF Symbol, Apple’s built-in icon set. You can browse all the available names in the free SF Symbols app.
Of course you will want to use a custom view instead of Text in most cases.
How to switch tabs from code
Sometimes tapping is not enough. Maybe a button on the first screen should send the user to the second one.
To do that, TabView accepts a selection binding. You store the current tab in a @State property, and you mark each tab with a tag:
struct ContentView: View {
    @State private var selectedTab = 0

    var body: some View {
        TabView(selection: $selectedTab) {
            Text("First")
                .tabItem {
                    Label("First", systemImage: "tray")
                }
                .tag(0)

            Text("Second")
                .tabItem {
                    Label("Second", systemImage: "calendar")
                }
                .tag(1)
        }
    }
}
Now setting selectedTab = 1 anywhere in your code switches to the second tab. When the user taps a tab, the binding updates too, so you always know which tab is on screen.
Be careful with one thing: if you pass a selection binding but forget the .tag() modifiers, the selection can’t be matched to any tab. Tabs will still respond to taps, but changing the state property from code won’t move the user to the tab you expect. Every tab needs a tag, and the tags must have the same type as the state property.
Related posts about swift: