Laravel Migration With Schema Validation in MongoDB
Published on by Moses Anumadu
One of the beauties of Laravel is the migration system, which is shipped out of the box with a fresh Laravel project. It provides a clean and systematic way of managing the database schema. It has a clean syntax that abstracts raw SQL and replaces it with Eloquent, which has a more PHP-friendly syntax.
A freshly installed Laravel project comes pre-configured with support for relational databases. The mongodb/laravel-mongodb package provided by MongoDB extends Laravel's ability to work with MongoDB.
In this tutorial, we will walk through how to perform migration with MongoDB in Laravel, from setup to usage, talk a bit about why you might want to implement migration in a Laravel and MongoDB web application, and finally, explore JSON schema validation when working with MongoDB and Laravel. With that said, let's get started.
Prerequisites
Ensure you have the following set up to follow along with this tutorial:
- Global installation of PHP and Composer
- MongoDB PHP Driver
- A free MongoDB Atlas cluster
- NPM
Environment setup
First, we must ensure that your development environment has the MongoDB PHP Driver installed. Without this installed in your environment, MongoDB won't work. You can verify by typing the command below in your terminal.
php --ri mongodbEnsure that your output looks similar to the code below:
mongodbMongoDB support => enabledMongoDB extension version => 1.20.0MongoDB extension stability => stablelibbson bundled version => 1.28.0libmongoc bundled version => 1.28.0libmongoc SSL => enabledlibmongoc SSL library => Secure Transportlibmongoc crypto => enabledlibmongoc crypto library => Common Cryptolibmongoc crypto system profile => disabledlibmongoc SASL => enabledlibmongoc SRV => enabledlibmongoc compression => enabledlibmongoc compression snappy => disabledlibmongoc compression zlib => enabledlibmongoc compression zstd => disabledlibmongocrypt bundled version => 1.11.0libmongocrypt crypto => enabledlibmongocrypt crypto library => Common Cryptocrypt_shared library version => unknownDirective => Local Value => Master Valuemongodb.debug => no value => no valueIf your output does not return a similar result from what we have above, you do not have the MongoDB PHP Driver installed. For details on how to install it, visit the MongoDB documentation. Also, ensure that you have PHP and Composer before proceeding.
Setting up Laravel with MongoDB
Installing Laravel
Let's proceed by creating a fresh Laravel project and configuring it to use MongoDB. Use the Composer command below to create a fresh Laravel project.
composer create-project "laravel/laravel" mongodb_migration_tutorialConfigure Laravel to use MongoDB
The freshly created Laravel project comes with configurations for relational databases out of the box. We further need to configure it to work with MongoDB by installing the mongodb/laravel-mongodb package. Install it by running the command below in your terminal in the project directory.
cd /your-project-directorycomposer require mongodb/laravel-mongodbAfter the installation, add the code block below to the config/database.php file.
'mongodb' => [ 'driver' => 'mongodb', 'dsn' => env('MONGODB_URI'), 'database' => env('MONGODB_DATABASE'),],From the code above, the dsn value is obtained from the .env file. In your .env file, create a value for MONGODB_URI and MONGODB_DATABASE and set it to the value of your MongoDB Atlas connection and database name string, like below:
MONGODB_URI="<<MONGODB_ATLAS_CONNECTION_STRING>>"MONGODB_DATABASE="<<YOUR DATABASE NAME>>"DB_CONNECTION=mongodbLaravel migration for MongoDB
Unlike relational databases, MongoDB is a flexible schema document database that stores data in BSON format. So now, you're wondering, “Why run migrations?” Well, relational databases are designed to follow a structure. Database table fields are pre-defined before they are created using schemas, bringing structure and version control to the migration. This is the structure Laravel adopts. When working with MongoDB in Laravel, you can also use migrations to manage collections and indexes to bring in that consistency and organization.
For Laravel migration to work with MongoDB, after generating the migration file, you must replace the Illuminate\Database\Schema\Blueprint import with MongoDB\Laravel\Schema\Blueprint and also set the $connection property in the migration class to mongodb.
Generating a migration file
We can generate a migration file using the command below:
php artisan make:migrationWe can also create a model and a migration together using this command:
php artisan make:model <ModelName> -mOr, we can create a model, controller, and migration using the command below:
php artisan make:model <ModelName> -c -mLet's proceed by creating a model, migration, and controller for a blog service in our previously created Laravel project by using the command below:
php artisan make:model Blog -c -mThe command above will create three files respectively. The blog model file will be created in app/Models/Blog.php. The blog controller file will be created in app/Http/Controllers/BlogController.php, and the blog migration file in database/migrations/2025_04_22_103422_create_blogs_table.php.
Modify the blog model class
We need to tweak the blog model to use Eloquent while working with MongoDB. You can check the documentation for a more detailed explanation. For now, update the content of app/Models/Blog.php with the code below:
<?phpnamespace App\Models;use MongoDB\Laravel\Eloquent\Model;class Blog extends Model{ protected $connection = 'mongodb'; protected $table = 'blogs'; protected $fillable = [ 'title', 'body', 'author', 'published', 'tags', 'created_at', ];}Modifying the migration class
Let's modify the migration file to get it to work with MongoDB. To do this, open the database/migrations/2025_04_22_103422_create_blogs_table.php file and replace the content of the page with the code below:
<?phpuse Illuminate\Database\Migrations\Migration;use MongoDB\Laravel\Schema\Blueprint;use Illuminate\Support\Facades\Schema; return new class extends Migration{ protected $connection = 'mongodb'; public function up(): void { Schema::create('blogs', function (Blueprint $collection) { $collection->index('title'); }); } public function down(): void { Schema::dropIfExists('blogs'); } };From the code above, we replaced Illuminate\Database\Schema\Blueprint with MongoDB\Laravel\Schema\Blueprint. We also set the $connection property in the migration class to mongodb.
The section of the code below creates a schema name blog and sets the title to the collections index.
Schema::create('blogs', function (Blueprint $table) { $collection->index('title');});Just in case you're wondering, indexes in MongoDB (just like in SQL databases) are used to speed up search queries in the required field. For more details on this, visit the documentation.
Running and rolling back migrations
Now, we have created our migration file. Let's proceed by running our migration using the command below:
php artisan migrate --database=mongodbThis should run the migrations and create the required collections.
We can roll back a specific migration using the command below:
php artisan migrate:rollback --database=mongodb --path=database/migrations/mongodbLaravel is very robust and has more than one command for migration. These commands all migrate your database but have little differences on how it is done. Some other Laravel migration commands include php artisan migrate:fresh, php artisan migrate:reset, and php artisan migrate:status. For more on Laravel migrations, check the official documentation.
Checking if a collection exists
In the migration file, which in our case is database/migrations/2025_04_22_103422_create_blogs_table.php, we can check if a collection already exists or create the collection if it does not exist, before running the migration. We can do this using the Schema::hasCollection() method and checking conditionally.
if (Schema::hasCollection('blogs')) { Schema::create('blogs');}Adding schema validation
Schema validation simply lets you create validation rules for your fields. Fields in a MongoDB schema can be validated for data types, value ranges, required or optional fields, etc. MongoDB uses a flexible schema model, which means that documents in a collection can have different fields or data types by default. Once you've decided on the structure of your application schema, you can use schema validation to ensure there are no unintended schema changes or improper data types.
MongoDB schema models are flexible. What this means is that documents saved in a collection (basically, JSON-like objects) can have different data types or fields. For example, a user collection can look like the code below.
Document one:
{ "name": "Jane", "email": "jane@example.com"}Document two:
{ "name": "John", "age": 30, "address": { "city": "Lagos" }}Basically, MongoDB collections are flexible and do not require that every document must have the same fields or types. This is where schema validation shines. After defining your application's data structure, you can implement schema validation to help prevent unexpected changes or incorrect data types from being stored in your collections.
Why schema validation?
You can think of schema validation as a way to set validation rules for data that goes into your MongoDB schema. Some of the reasons why you might need schema validation in MongoDB include:
- It specifies what fields must be present in your collection.
- It specifies what data types those fields should be.
- It specifies whether a field can only have certain values (like enums or date).
- It specifies the range for a field value and array sizes.
Of course, when working with MongoDB, not all collections need schema validation. You're probably wondering when you should use it, right? It’s a good idea to add validation to your schema when:
- Your data model is mature or fairly stable.
- You want to prevent typos, missing fields, or invalid types.
- You’re integrating with a front end that expects a consistent response shape.
- You want to enforce structure without fully sacrificing NoSQL flexibility.
How to add schema validation in Laravel
When working with MongoDB in Laravel, schema validation can be achieved by adding a validator.$jsonSchema option with nested arrays representing each field for the document.
Let’s take a practical example by implementing JSON schema validation in our blog collection we created earlier.
Let's assume we need the following fields in our blog collection:
- title: required, string
- body: required, string
- author: required, string
- published: optional, boolean
- tags: optional, array of strings
- created_at: optional, date
The code below will add JSON schema validation to the collection. To achieve this, navigate to our blog migration in database/migrations/2025_04_22_103422_create_blogs_table.php and replace the content with the code below:
<?phpuse Illuminate\Database\Migrations\Migration;use MongoDB\Laravel\Schema\Blueprint;use Illuminate\Support\Facades\Schema;use Illuminate\Support\Facades\DB; return new class extends Migration{ protected $connection = 'mongodb'; public function up(): void { Schema::create('blogs', [ 'validator' => [ '$jsonSchema' => [ 'bsonType' => 'object', 'required' => ['title', 'body', 'author'], 'properties' => [ 'title' => [ 'bsonType' => 'string', 'description' => 'must be a string and is required', ], 'body' => [ 'bsonType' => 'string', 'description' => 'must be a string and is required', ], 'author' => [ 'bsonType' => 'string', 'description' => 'must be a string and is required', ], 'published' => [ 'bsonType' => 'bool', 'description' => 'optional boolean indicating if the post is published', ], 'tags' => [ 'bsonType' => 'array', 'items' => [ 'bsonType' => 'string', ], 'description' => 'optional array of string tags', ], 'created_at' => [ 'bsonType' => 'date', 'description' => 'optional creation timestamp', ], ], ], ], 'validationLevel' => 'strict', // optional, defaults to 'strict' 'validationAction' => 'error', // optional, defaults to 'error' ]); } public function down(): void { Schema::dropIfExists('blogs'); }};If you take a closer look at the migration file now, it looks a little different from what we had earlier. This is because the mongodb/laravel-mongodb package supports schema validation by passing an options array and a nested array of validator and $jsonSchema. Hence, our migration file changed from
Schema::create('blogs', function (Blueprint $collection) { $collection->index('title');});To
Schema::create( 'blogs', function (Blueprint $collection) { $collection->index('title'); }, options: [ 'validator' => [ '$jsonSchema' => [ // schema validation rules ] ] ]);Let's verify that our schema validation works. We will test by inserting some hard-coded values into our blog collection. In routes/web.php, add the following:
Route::get('/test/create_blog', function(){ try{ Blog::create([ // 'title' => 'Test Post', 'body' => 'This is the body of the first post.', 'author' => 'alloyking1 is the author', 'tags' => ['laravel', 'mongodb'], 'published_at' => now(), ]); dump(['success' => 'post created successfully', 'code' => 201]); } catch (Exception $e) { dump(['error' => $e->getMessage(), 'code' => 400]); } });Notice that the title is commented out. Visit the route and you should get an error message similar to the image below:
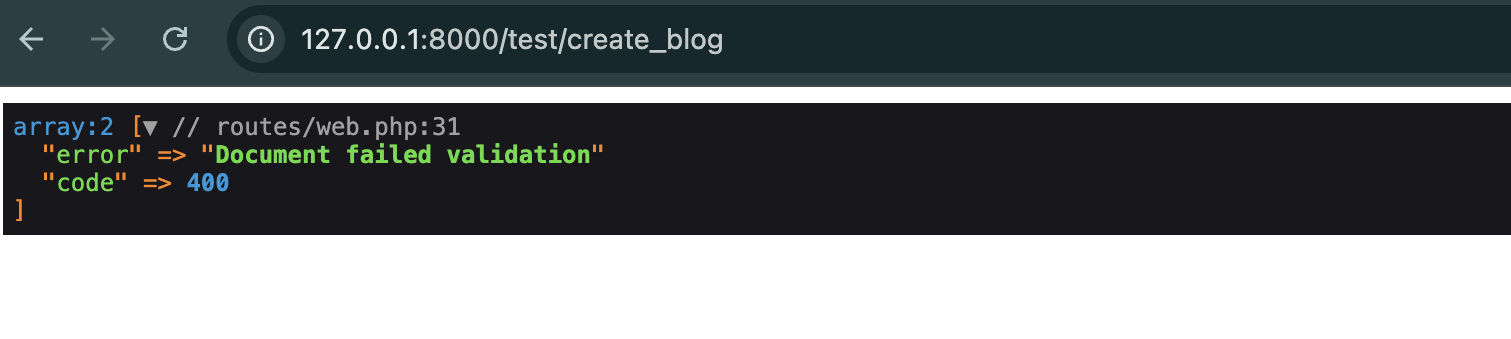
Because the title field is required, MongoDB will not write this to the collection and will reject the operation.
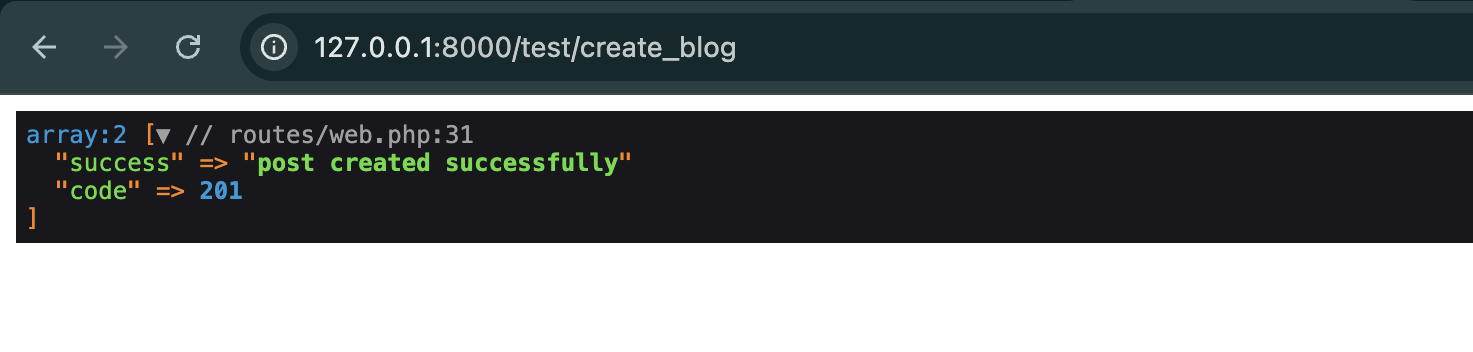
To make it work, uncomment the title field, which is a required field, and visit the route again. This time, you should get a success message similar to the screen below:
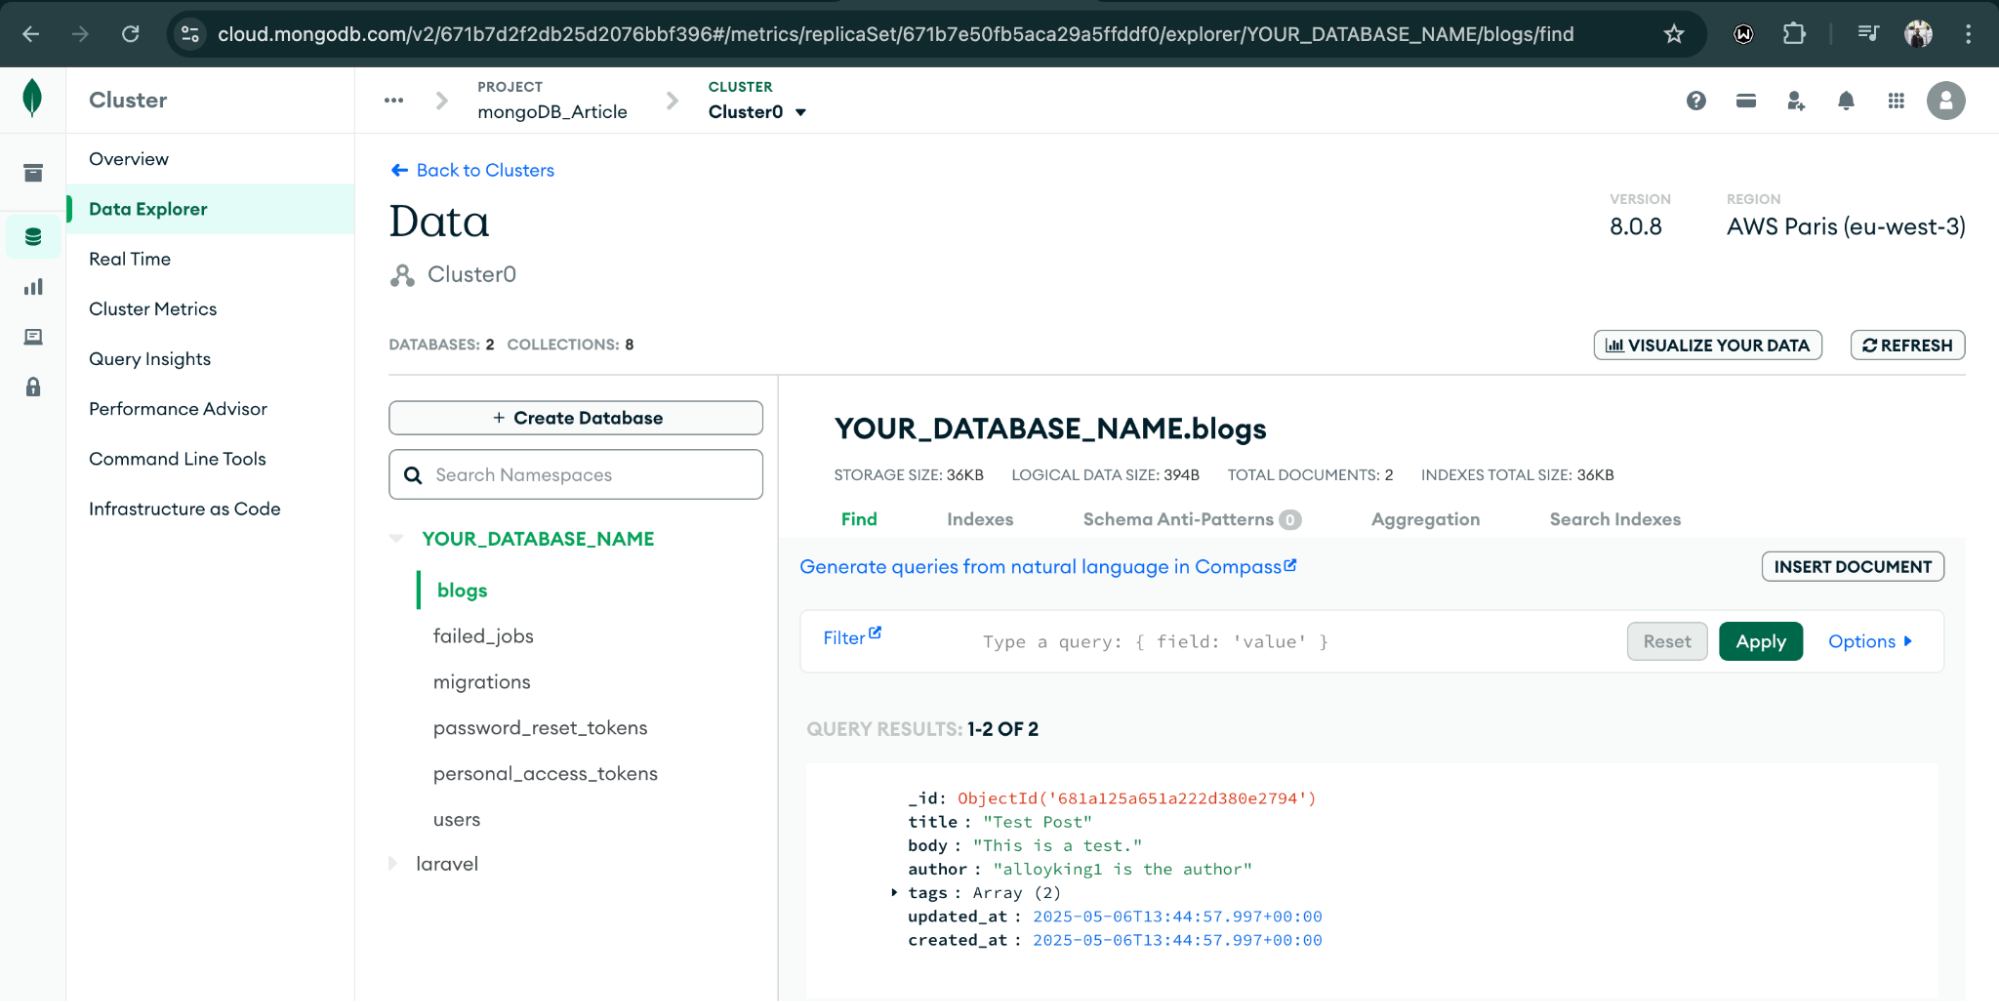
You can verify that the blog post was created from your MongoDB Atlas dashboard. Navigate to Data Explorer. You should see the post created. It should be similar to the image below.
Properly implemented JSON schema validation ensures invalid inserts and updates are rejected by default. We can also configure MongoDB to log violations instead of rejecting them. Additionally, we can use validation levels to define how existing documents are treated.
Conclusion
We have come to the end of this tutorial. Good job, if you followed along!
We explored ways to work with Laravel and MongoDB to give us structure and version control, even in a flexible NoSQL environment. We achieved this by:
- Setting up a Laravel project to work with MongoDB.
- Creating migrations using Laravel's artisan command in a Laravel and MongoDB project.
- Modifying the migration files to work with MongoDB and create collections rather than database tables.
- Exploring how to maintain structure in a MongoDB collection by implementing JSON schema validation.
- Exploring the difference in syntax in the migration when implementing schema validation and when not.
MongoDB and Laravel give you the best of two worlds by bringing Laravel's structure and MongoDB’s flexibility. What will you build next with Laravel and MongoDB?

Software Engineer, Technical writer , PHP, Laravel, Livewire, TailwindCSS & VueJS. Laravel developer and founder at codecontent.pro