How to master the Camera app on iPhone 17 Pro & iPhone 17 Pro Max

Apple's Camera app is simple on the surface, but there is surprising depth hidden underneath. Here's how to master the upgraded camera system on the new iPhone 17 Pro and iPhone 17 Pro Max, from hidden controls to recommended settings.
How to master the Camera app on the new iPhone 17 Pro and iPhone 17 Pro Max
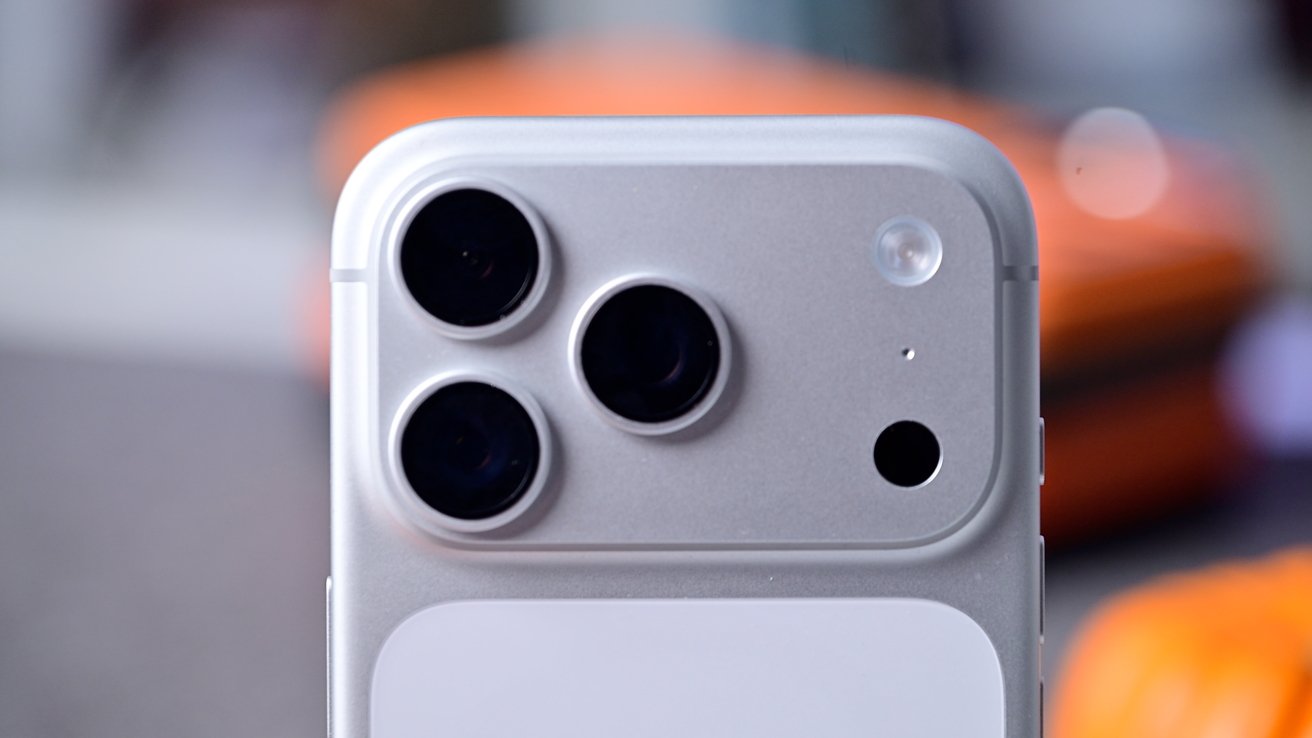
Both iPhone 17 Pro and iPhone 17 Pro Max have three rear-facing cameras. It marks the first time that the entire trio has 48MP sensors.
There is an ultra-wide lens, the primary wide lens, and a newly upgraded telephoto lens. Rounding out the back is a LiDAR sensor, which aids in focusing, and a TrueTone flash.
Additionally, there is a new 18MP front-facing camera. It features numerous enhancements, including Dual Capture video and a wider field of view.
Combined, this is the most comprehensive camera system Apple has developed. Let's take a look at how you can get the most out of it.
Opening the Camera app & taking a photo
This may seem obvious, but we must first start with some basics. We'll explore how to open the Camera app and take photos.
There are at least six different ways you can open the Camera app. Starting with the Lock Screen, you can still swipe to the left to launch it.
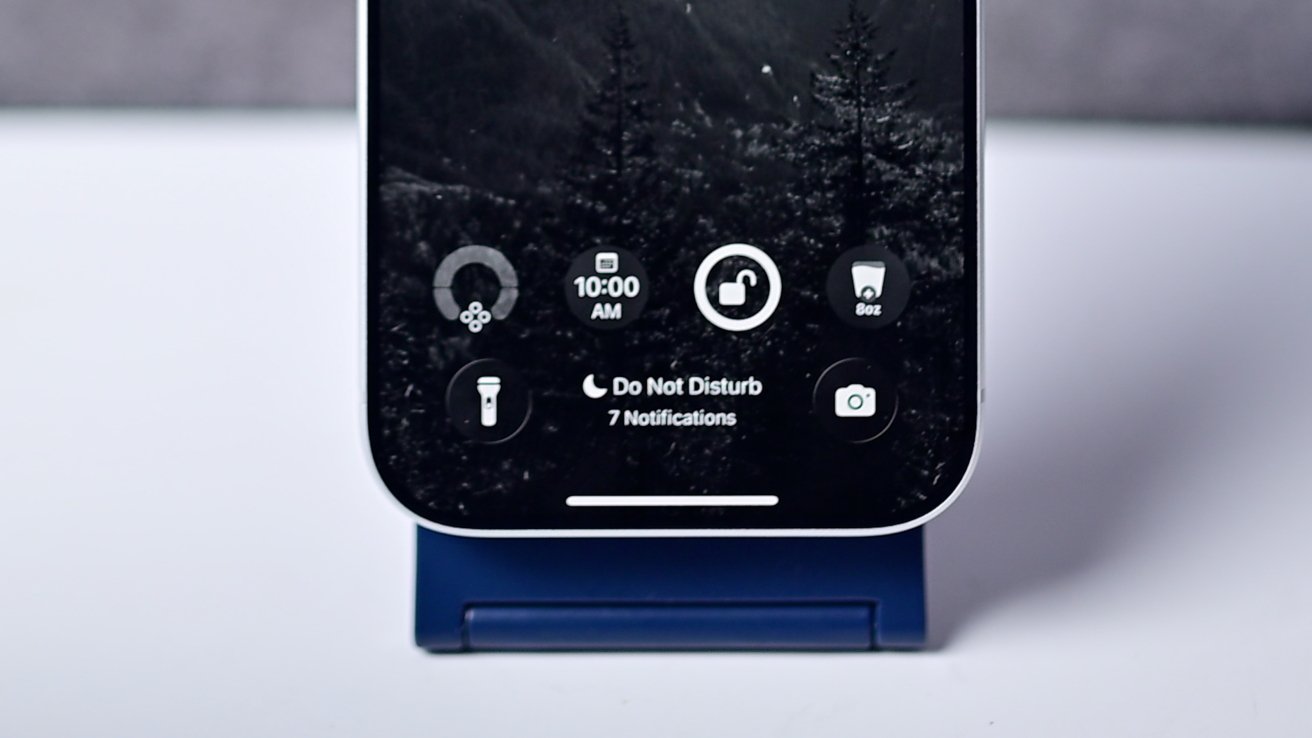
You have to control spots on the Lock Screen you can assign to the Camera app
Also on the Lock Screen are two customizable shortcuts at the bottom. You can edit the Lock Screen and replace either of the two controls with the Camera launcher, though the right one is set to the Camera by default.
You can set the Action Button to open the Camera app
For physical buttons, you can customize the Action Button to launch the Camera app or even press the Camera Control. This allows for quite a bit of freedom and customization for users.
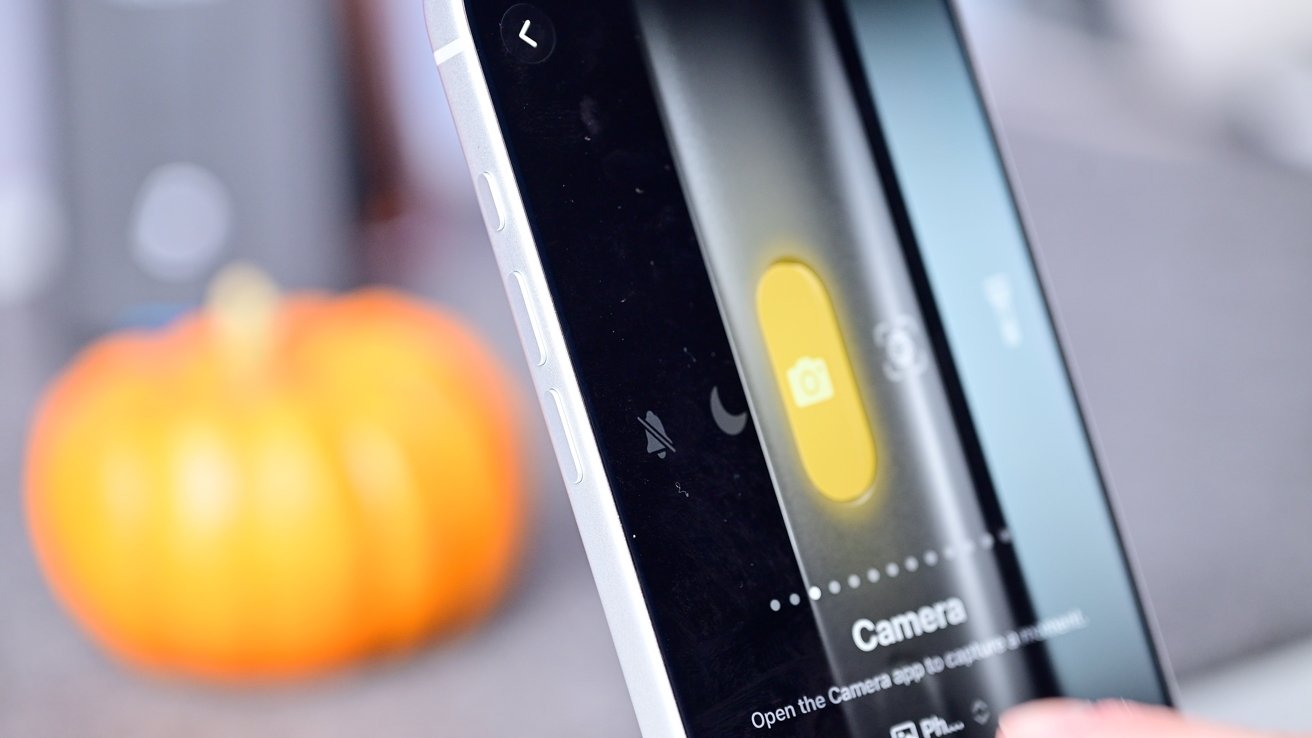
If you tap and hold the Camera icon, there are multiple quick launch options
Once you unlock your phone and you're on the Home Screen, you can tap the app icon, per usual. If you long-press on the app icon, there are multiple quick launch options to choose from that jump you directly into various parts of the app.
Finally, we would like to highlight one more feature: Spotlight search. You can start typing the word "camera" to open the app or choose from any of the deep app links that, again, will launch various parts of the app.
When it comes to taking a photo, there are also a shocking number of options available. Some are easier or more convenient than others, just as with launching the app.
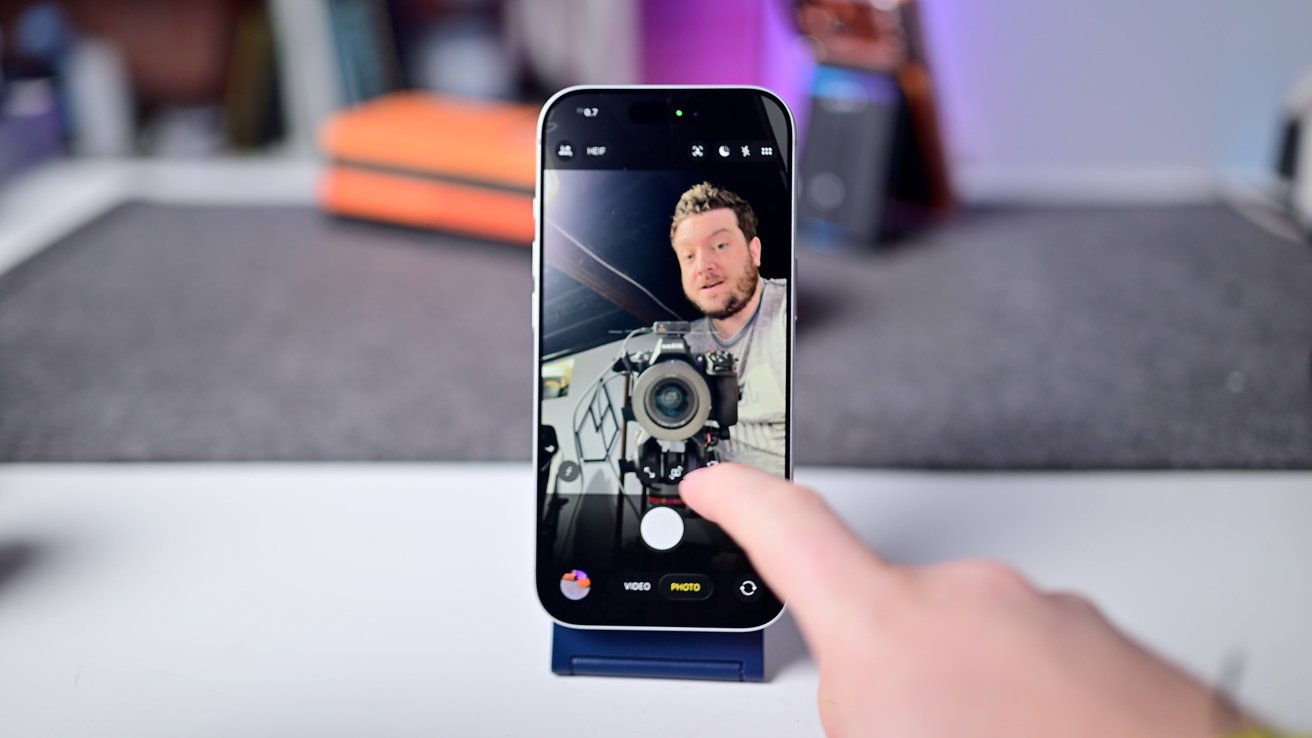
The most straightforward method is obviously to tap the shutter button at the bottom of the app. Tap it once, and a photo is captured, and a round thumbnail appears at the bottom-left corner.
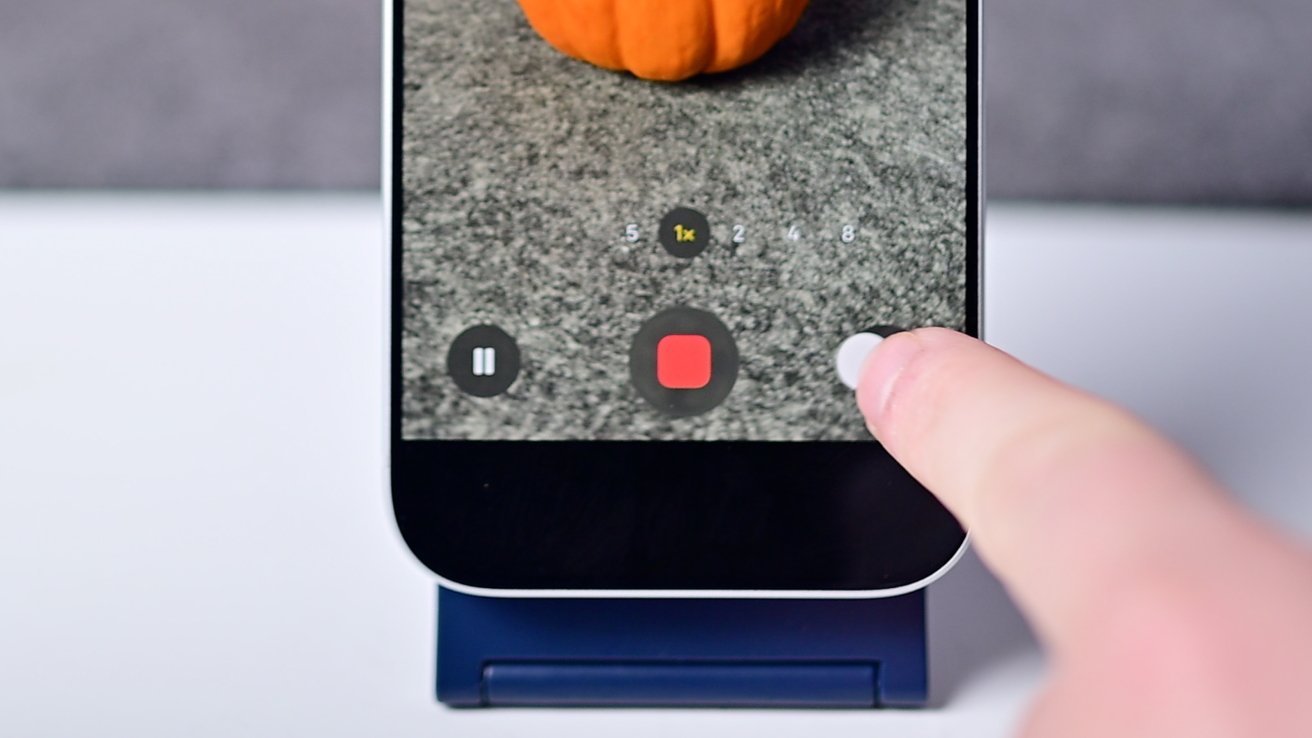
If you tap and hold the shutter, it starts recording a QuickTake video
If you tap and hold the shutter button, you'll invoke QuickTake, and it will start recording a video until you release the button. While holding, drag to the right to lock it into video capture.
While capturing that video, you can tap the pause button on the left to pause the recording or tap the circle on the right to save a still frame. When you're done, you can tap the red square to stop.
Tap and pull the shutter to the left to start capturing burst photos
If you press the shutter button and immediately drag to the left, burst photos will be taken. It will show a counter in the center, ticking up as they're saved, and will stop when you release it.
Both volume buttons can double as shutter buttons, too. Press either volume up or volume down, and it will take a photo.
If you press and hold either button, it will start taking a QuickTake video. In the Settings app, you can optionally set the volume down button to capture burst photos when held.
Finally, you can press the Camera Control. A half press down will focus, and all the way down will snap the photo, or hold it for video.
Zoom
Aside from taking photos and videos, the next most-used feature will be zoom. Especially for the pro phones that have the more capable tele lens.
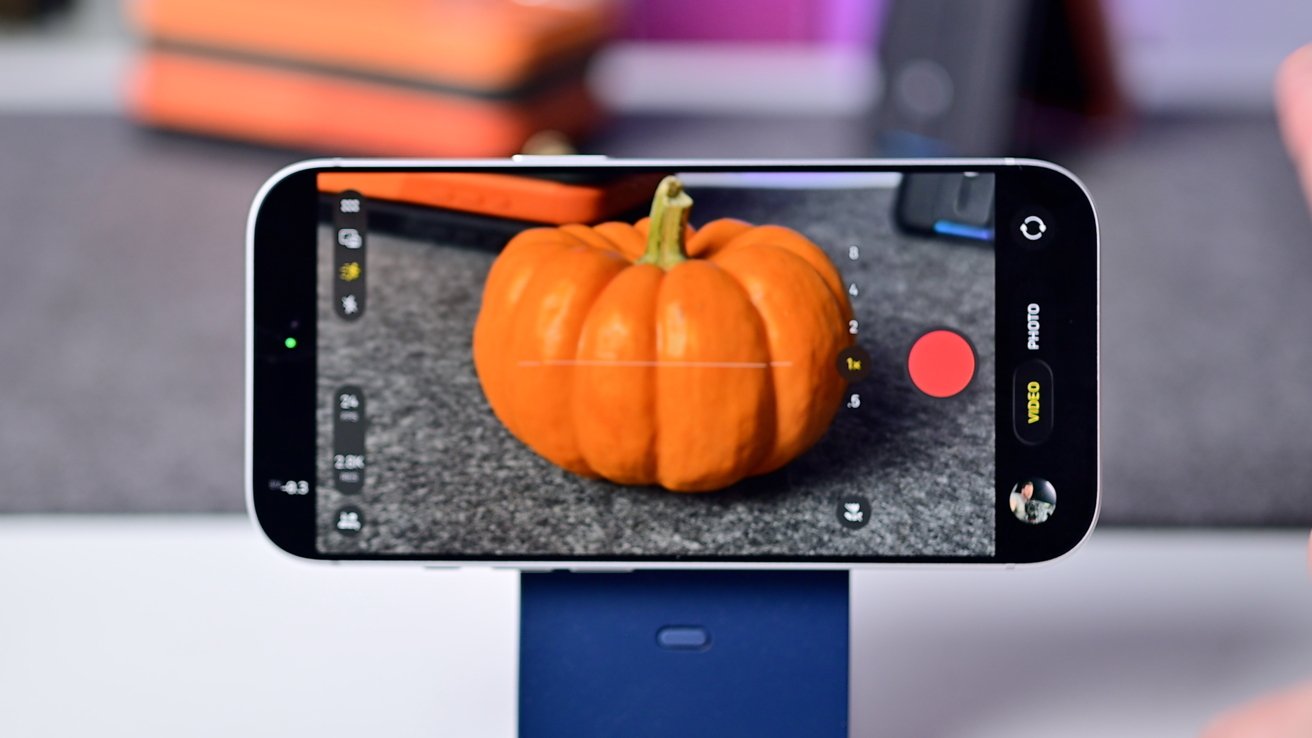
You can move between the lenses at preset intervals shown on the screen. There is .5X for the ultra wide, 1X, 2X, 4X, and 8X as options.
Just because you choose one does not necessarily mean the camera is switching lenses. The Camera app automatically chooses the best rear camera based on your shooting environment.
If you tap on the 1X indicator, it will cycle between 24mm, 28mm, and 35mm focal distances. These are all common photography focal distances, and you can set a default focal distance from the settings.
We see many people adjusting the zoom by pinching in and out on the screen. This works, but it also causes your phone to move at the same time.
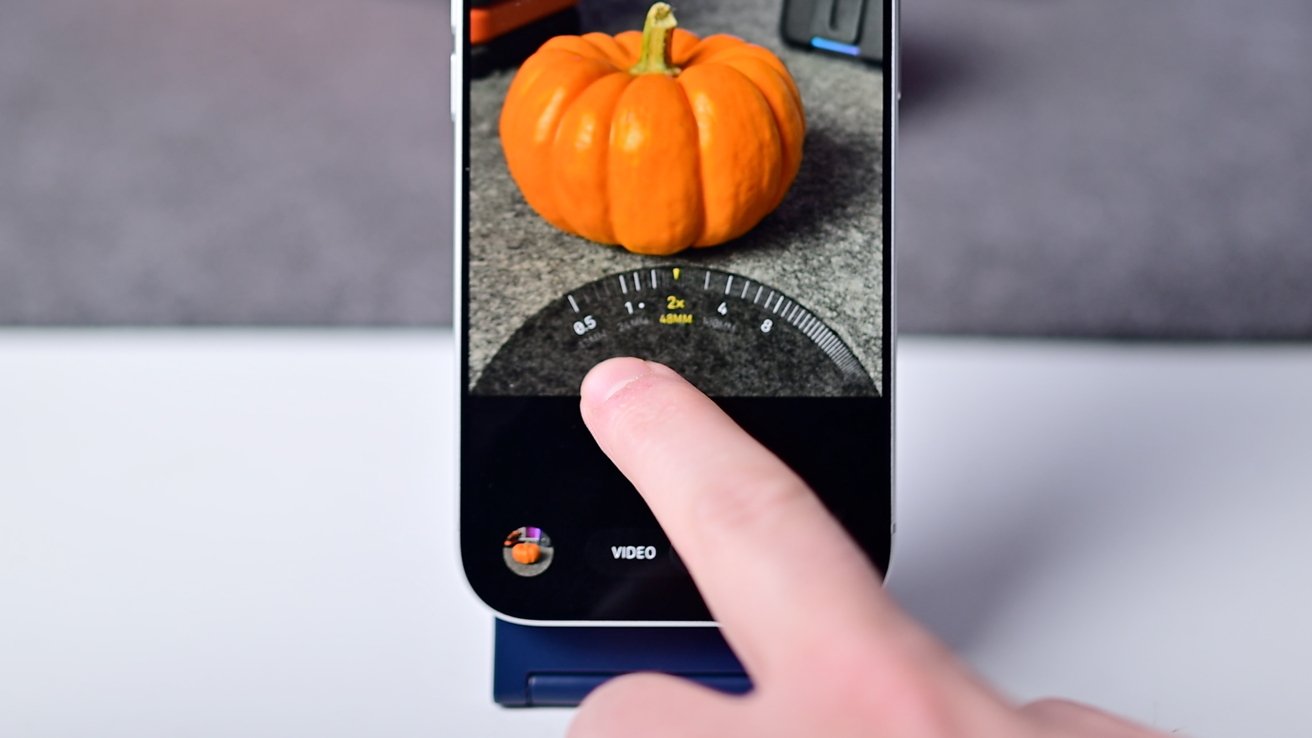
Granularly zooming in and out by sliding left and right on the zoom levels
A smoother, more granular option is to use the zoom wheel. By pressing on any of the zoom levels and swiping left or right, a wheel will appear from the bottom.
This gives you fine control over the zoom from .5X all the way to 40X digital zoom. It will automatically jump to preset intervals and will automatically dismiss when you release it.
Camera app Controls
With the basics out of the way, we can turn to accessing some of the most relevant in-app controls. They, too, have multiple ways of being accessed and used.
To change modes, you can tap the words at the bottom of the screen. You can also swipe left or right anywhere on the screen to access photo modes on the right and video modes to the left.
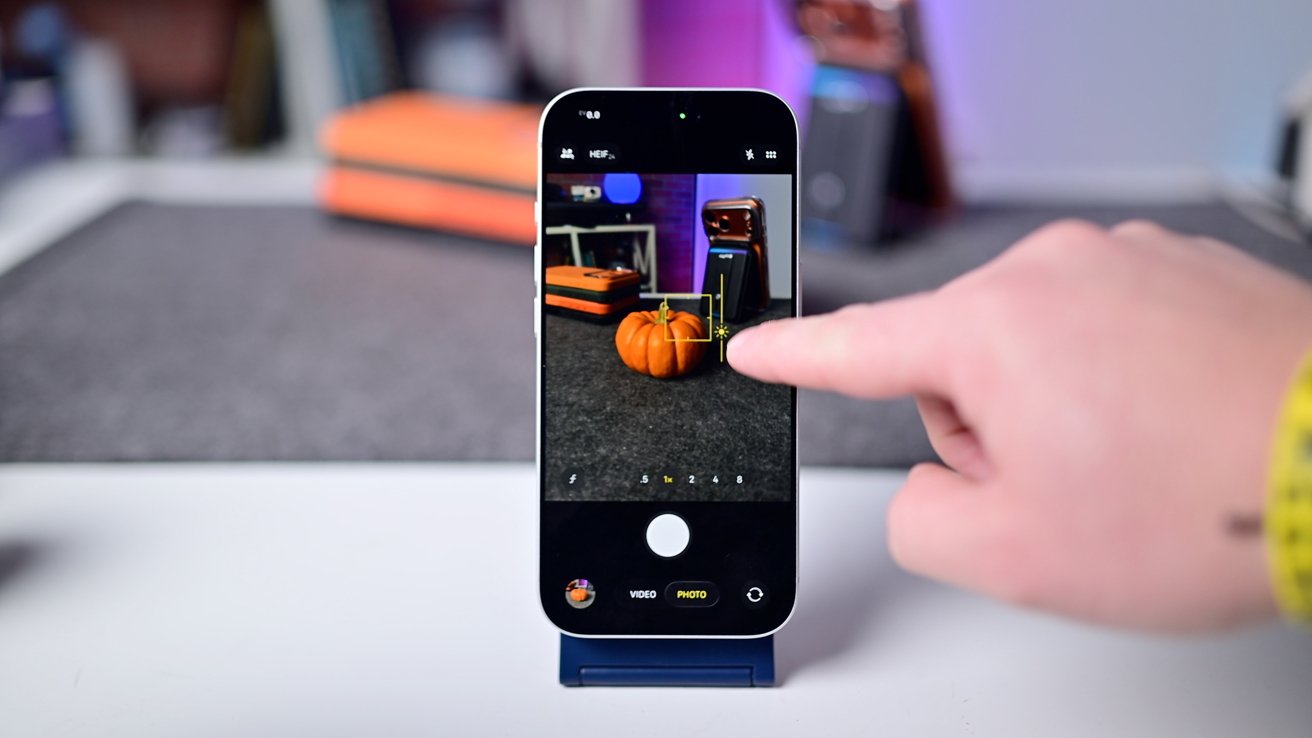
Tap in the viewfinder to set or lock the exposure and focus
If you tap anywhere in the viewfinder, it will set both the focus and the exposure on that point. If you tap and hold, it will lock the exposure and focus to that point, so as you move the camera, it won't change.
This is useful, especially for the exposure when you have a challenging environment with dark shadows and highlights. It's also useful if you have a subject with dark spots and light spots, so it won't change the overall exposure of your shot as the subject moves.
When you set the exposure, you can manually adjust it. Lock the exposure, then slide your finger up or down to brighten or darken it.
Along the top of the app, you should see the Shared Library icon if it is enabled. It will either be white and crossed out when you are shooting to your personal library, or it will be yellow when shooting to the shared one.
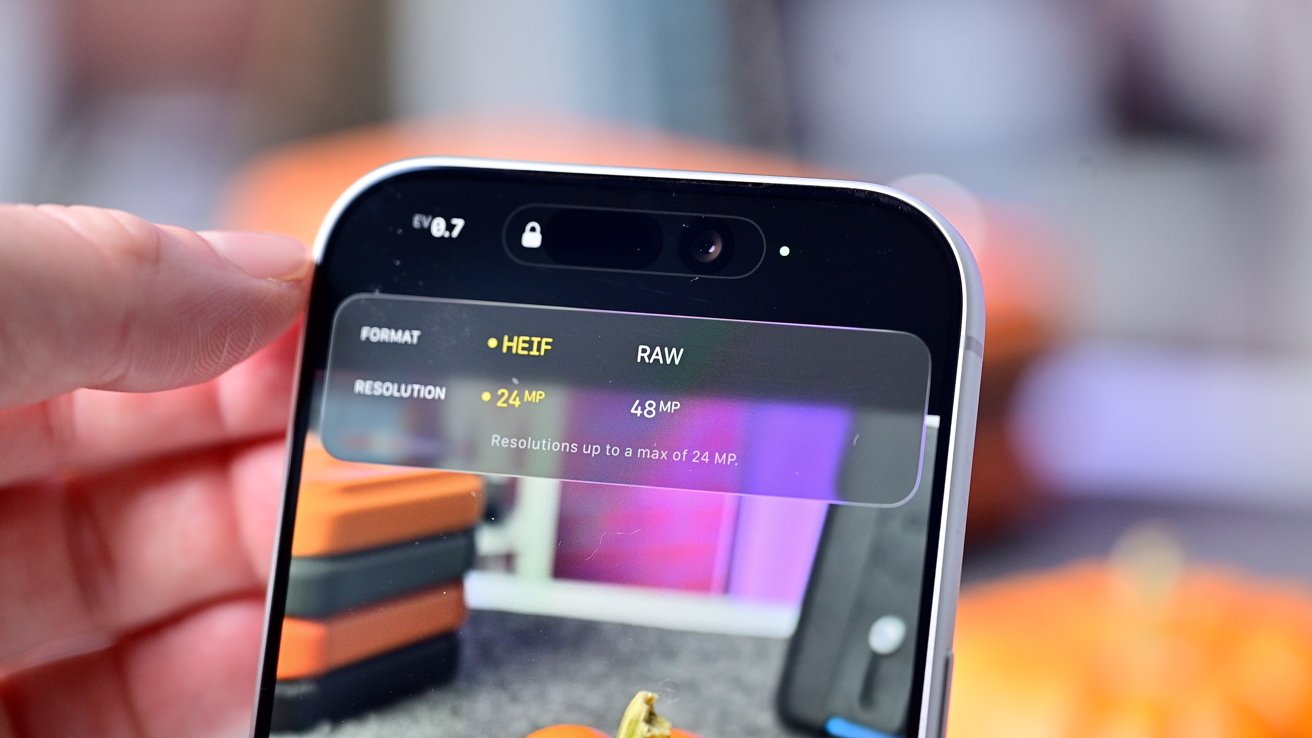
You can quickly adjust the format and the resolution from the top of the Camera app
Next to that will be formats and resolutions. Tap it to choose between HEIF and RAW as well as 24MP or 48MP.
We recommend most people shoot in the more efficient HEIF format and 24MP. Switch to 48MP and RAW if you want to capture as much data and detail as possible, though the images are much larger.
On the top-right, you'll conditionally see the Night Mode icon if there is low light, next to the flash icon, and six small circles. Tapping the small circles will open up a pop-up at the bottom of the app with all the shooting controls.
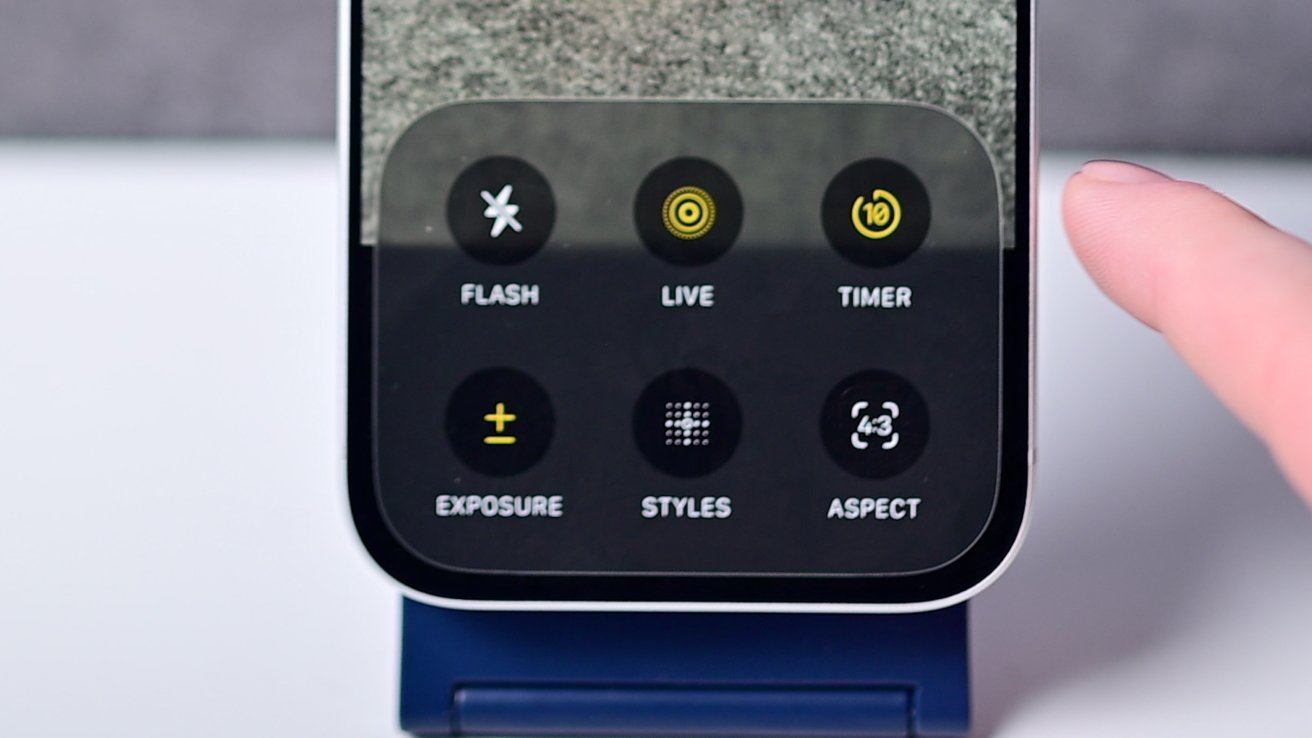
Controls pop up in the Camera app
First in the pop-up is the flash. This is redundant from the flash icon at the top, but when you open it from this control box, there are more options.
When you tap it at the top, you only have auto and off. When you adjust the flash from the control pop-up, you can manually set it to "on," too.
Next is the toggle for Live Photos as on, off, or auto, the timer with 3, 5, and 10-second durations, and an exposure slider. Following that are the Photographic Styles, aspect ratios in 1:1, 3:4, and 16:9, and finally Night Mode.
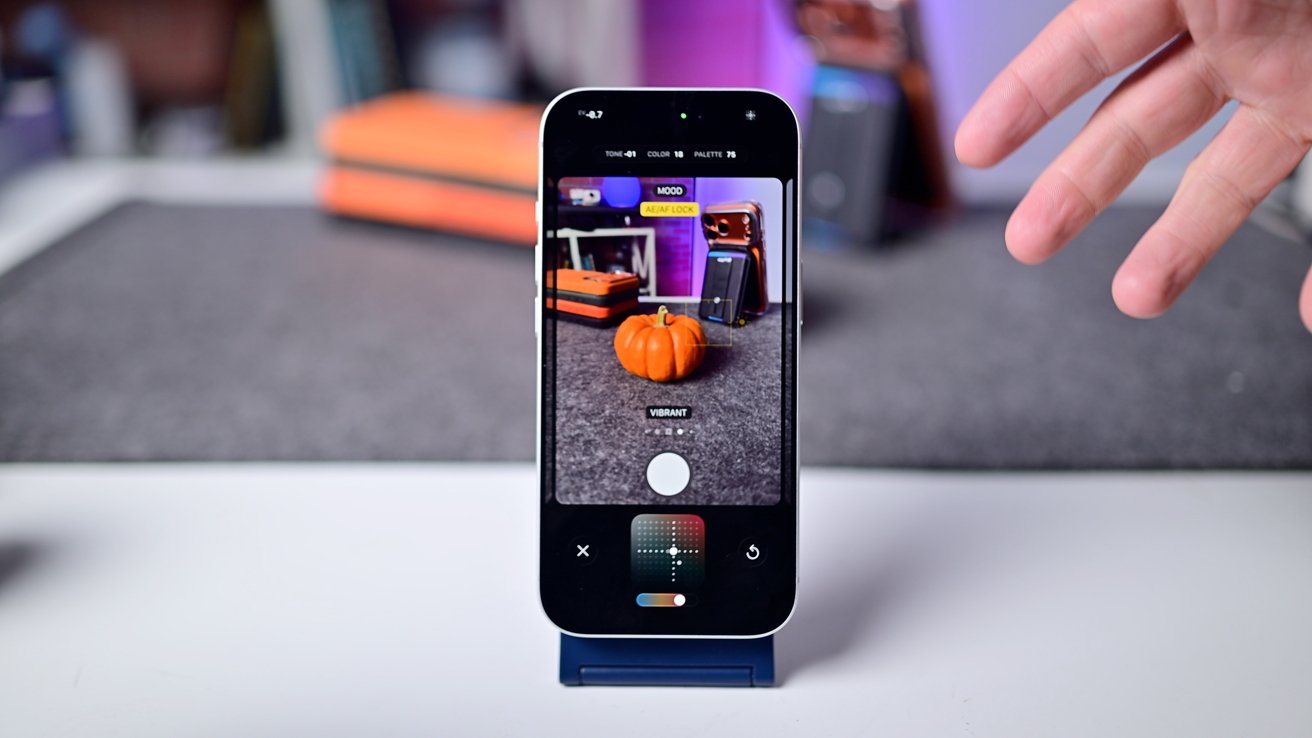
You can personalize the Photographic Style for your images
Photographic Styles are fully customizable and are applied at the time of capture, versus filters that get applied evenly across the final photo. You can set a default look for your images or change them on the fly.
Night Mode, like the flash, has more options when adjusted from this pop-up. You can manually set the duration, which will change based on both the lighting and how stable your phone is.
If your phone is in the dark on a tripod, you can set the shutter duration for up to 30 seconds, while if you are shooting handheld, it will drop down to maybe 3 or 5 seconds. If you are moving the phone while the shutter is open, it will result in a blurry Night Mode photo.
These controls are also mode-specific. For example, Portrait mode will have an aperture slider, and video has its own options.
Camera Control
The Camera Control first showed up with the iPhone 16 lineup, and it's present on the iPhone 17 too. It's located on the bottom-right edge of the phone.
We already discussed using it to both open the Camera app and take a photo. As a quick mention, if you venture into the settings, you can change which camera app gets opened.
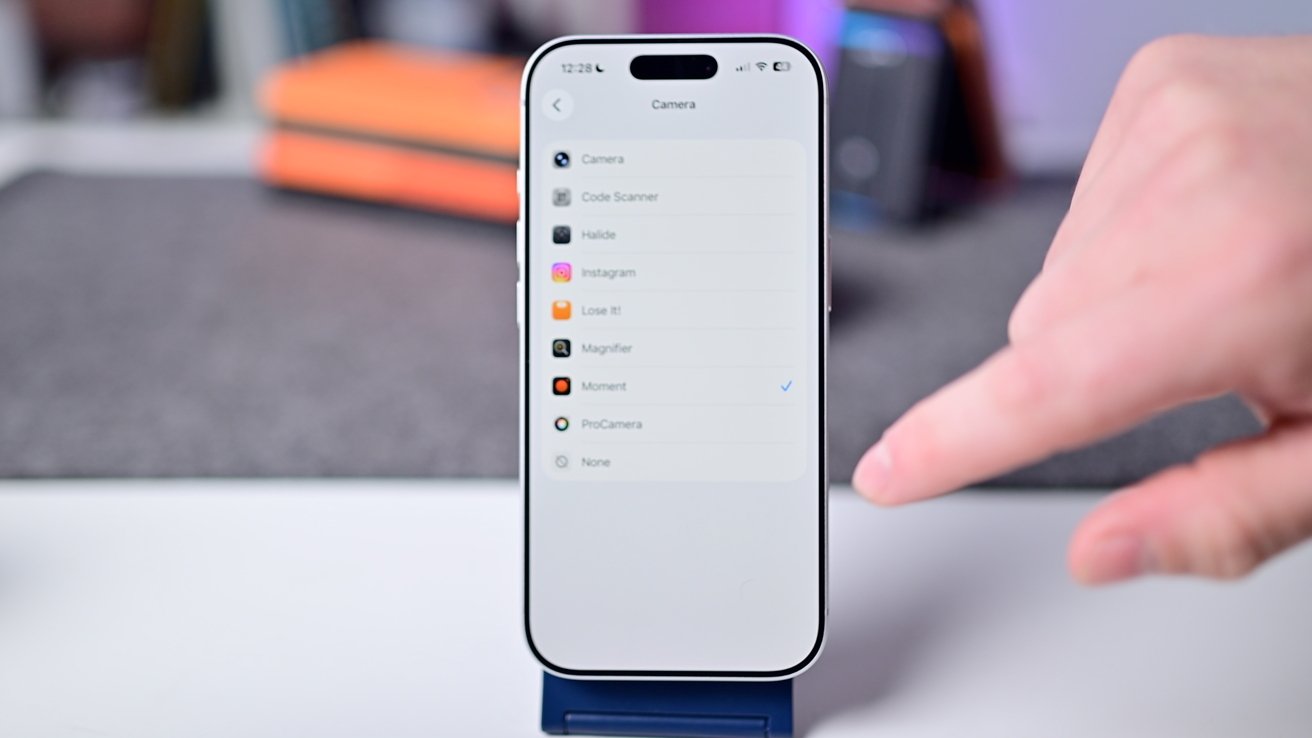
You can set the Camera Control to open any camera app you'd like
For example, you can choose to open the Moment Pro Camera app instead of Apple's. Other camera apps may have more features and controls than Apple's does.
We believe the absolute best use of the button is opening the app and taking a photo. It's incredibly fast and leaves the Lock Screen shortcuts and Action Button for other uses.
The button can do more. If you double-press it halfway down, you can open up the control picker.

Use the Camera Control to adjust your photo or video
Slide left and right on the button to move through the various controls offered, such as exposure, camera picker, zoom, or adjusting the style. Press halfway to select any of these.
For us, we typically leave it on the zoom mode as it is the one we use the most. If you find this finicky, you can disable the extra controls from within settings.
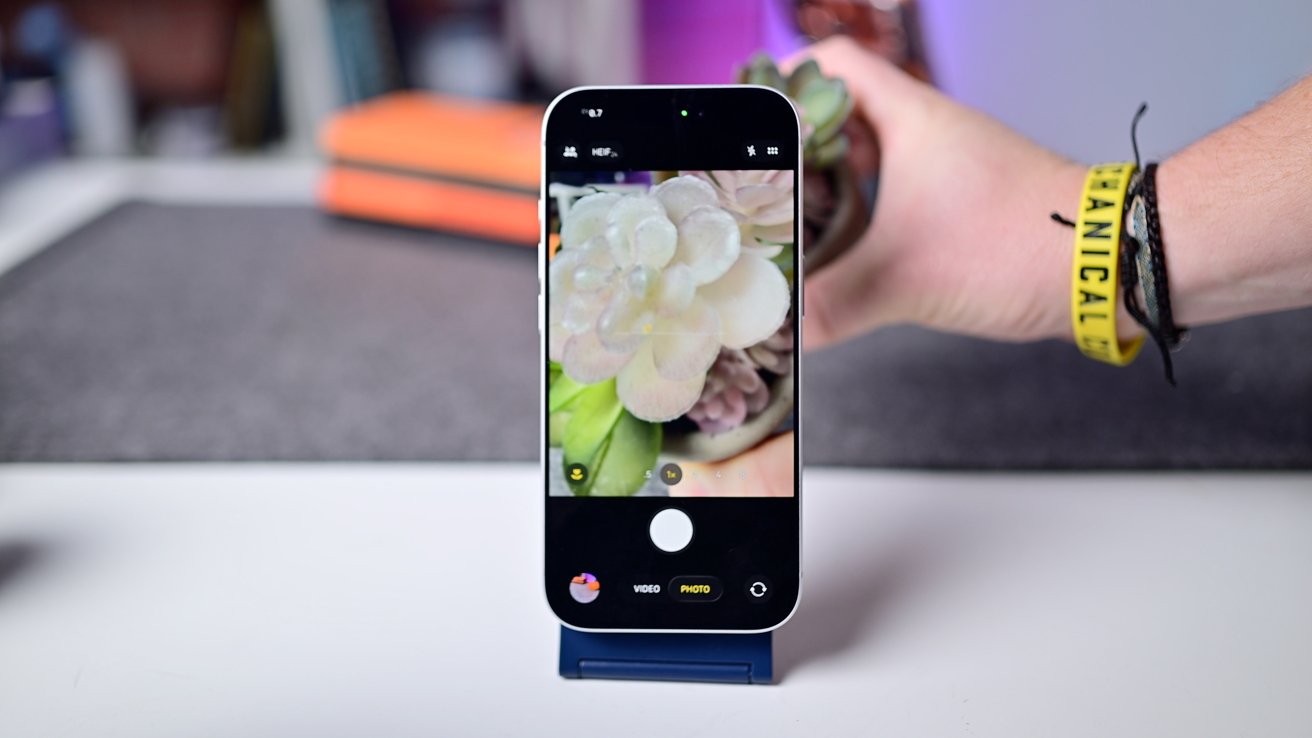
Macro mode
Macro mode allows you to get very detailed close-up shots, which is great for textures, bugs, or flowers. It uses the very close focal distance of the ultra-wide lens and works in both photo and video modes.
When you bring your iPhone close to a subject, macro mode will automatically enable. Unlike other photo and video modes, macro mode can only be activated when the subject is close and a small tulip appears in the lower-left corner.
Macro mode enables automatically by default
If you go into the Camera settings, you can turn on manual toggle. This means the tulip indicator will appear, but it will not automatically switch to macro mode unless you tap it.
This gives you control over whether to tap the flower to enable it or leave it in the view it is in. Most people should leave it in auto, but it's nice to have the choice to disable it if it keeps switching on you in certain shots.
Photo modes
Aside from standard photo mode, there are three others you can choose from. You can also take pictures with portrait, spatial, or panorama modes.
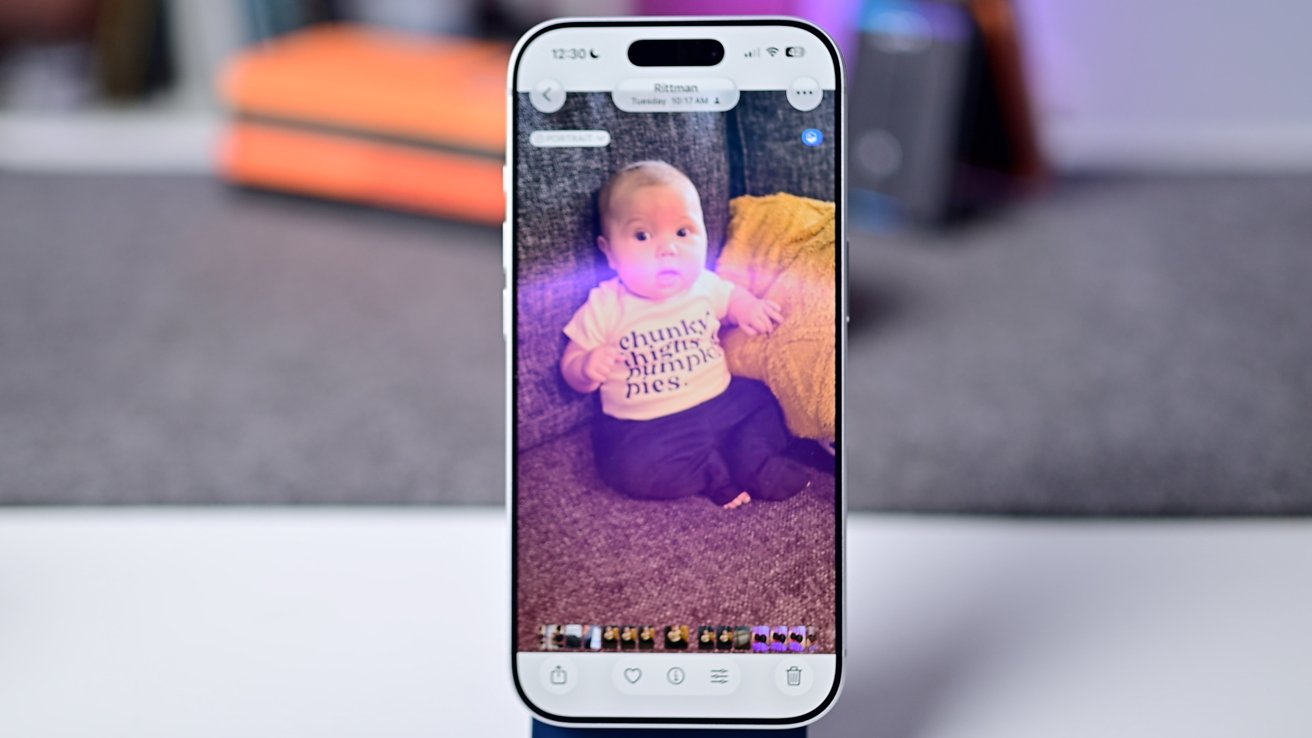
It may be confusing, but portrait photos do not need to be taken in Portrait Mode. They can be taken while in regular photo mode, with Live Photo enabled.
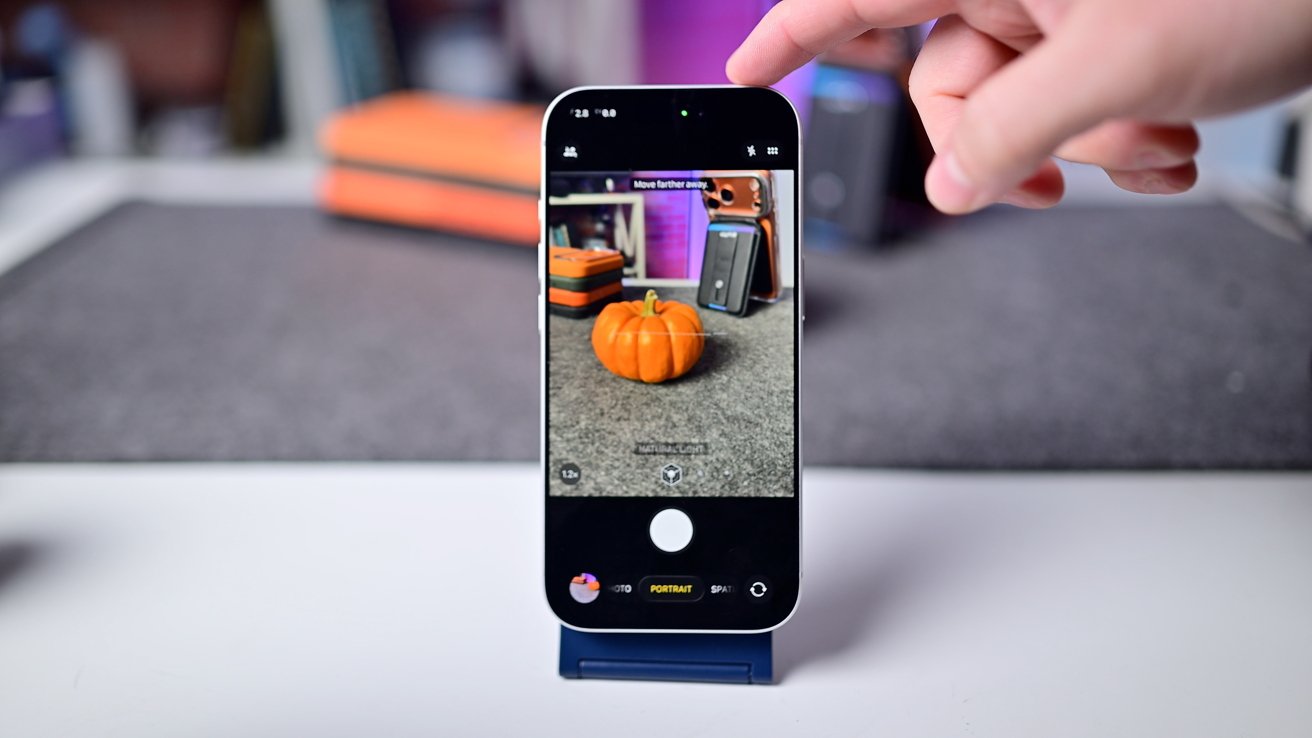
Portrait shots don't have to be shot in Portrait Mode
This is how we typically shoot portraits because you get the best of everything. You can adjust the aperture and lighting after the fact, or you can use the Live Photo.
If you go into Portrait Mode, you can adjust the aperture and lighting effect right when you take the shot. This provides more control at the time of capture.
Spatial is also funky. Your phone must be in landscape orientation and can shoot both photos and videos.
Turn any photo spatial in the Photos app with iOS 26
Spatial capture uses the ultra-wide and main lens for true stereoscopic imagery, which is great for viewing on Apple Vision Pro. In iOS 26, Apple also lets you turn any photo spatial from within the Photos app, which looks amazing on the Lock Screen.
Panoramas have largely not changed over the years, but they look great, and you can get varied looks by changing the camera you shoot with. Our biggest tip here is when taking the panorama, don't move your arms, but instead rotate from the hips to keep it more stable.
Selfie camera
With the new iPhone 17 series and iPhone Air, Apple has a much-improved selfie camera. It is now a square sensor and 18MP.
One of the things this enables is the ability to shoot landscape shots while the phone is still vertical. The Camera app can also automatically adjust both the orientation and the zoom based on how many people are in the photo.
The new Center Stage selfie camera is wider and has other new features
You can start a selfie with just you or one other person, but as more people come to join in on the fun, the Center Stage camera will expand and rotate automatically. This can be disabled at the top of the screen if you prefer to adjust it yourself.
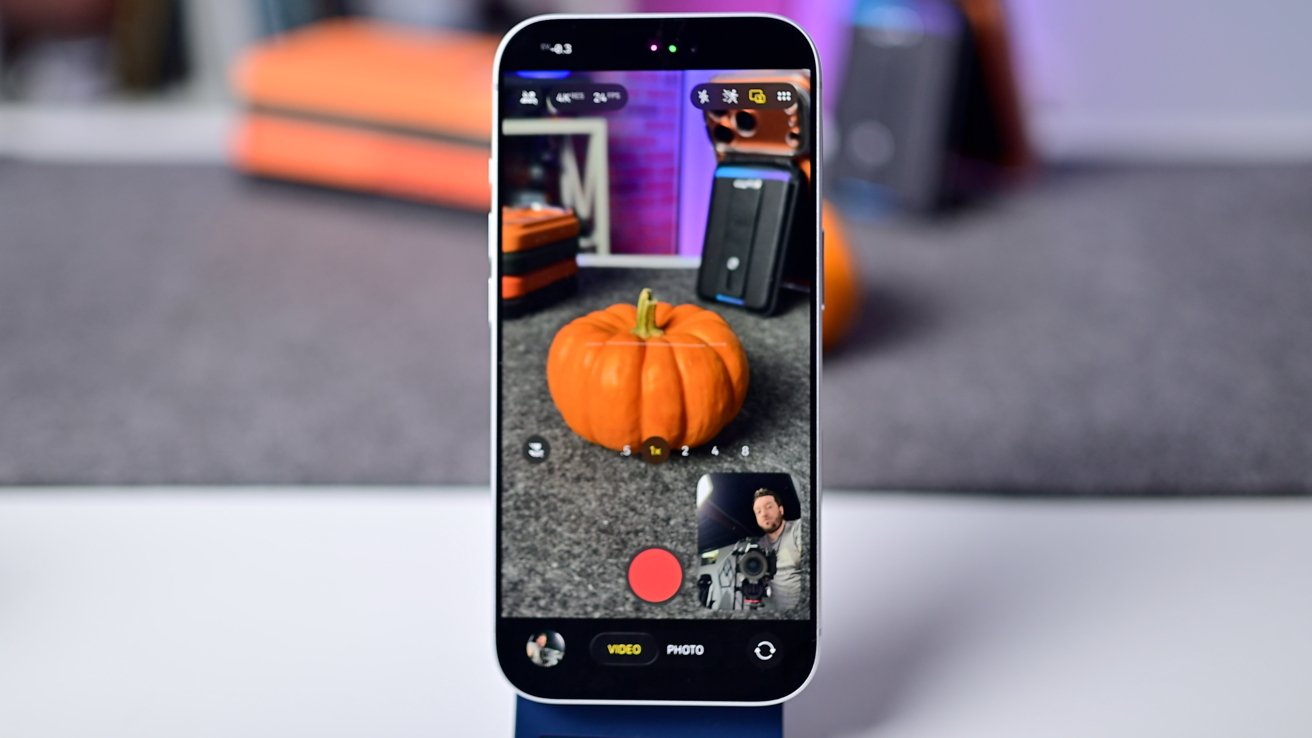
Video mode
Looking at video, we keep our settings at 4K with 24 frames per second. This can be adjusted just like the photo settings at the top of the screen.
You can film at .5X zoom or zoom into 24X. I already mentioned that you can also shoot macro video.
Dual Capture with the updated Center Stage selfie camera
With the new Center Stage camera, you can film something called Dual Capture. This records you with the front-facing camera and records your subject with the rear one.
This is exclusive to the new phones because of the increased stabilization that the larger sensor offers. While recording, you can move your selfie video feed to any of the four corners.
After, you get a final video that looks just like you filmed. There aren't two files, but one final video with your face in one of the four corners.
Additional video modes
Apple offers other video modes in the app. Action Mode is enabled from the top of the screen and will significantly stabilize your shots.
It does limit your resolution, dropping it down to only 2.8K. This is needed because it has to crop it in to stabilize the video.
There are multiple video modes to choose from
The footage in Action Mode is amazing. We've chased children and pets and ended up with super smooth shots.
Cinematic Mode is essentially the equivalent of Portrait Mode, but for video. It gives you a lovely blurred background in your shots that you can adjust before or after filming.
When in Cinematic Mode, tap your subject to move the focus to it. You can also adjust these focal points after filming.
Basic editing can be done in the Photos app, or you can import the video into Final Cut Pro to edit there.
Lastly, you have slo-mo, which can record at 4K120 or HD240, and Timelapse, which automatically adjusts the capture rate based on how long you record.
Extra settings
For completeness, there are a few other settings we think it's useful to be aware of. All of these can be found in Settings > Camera.
For photos, the settings give you an option for 12MP instead of just 24MP and 48MP. This is useful if you want slightly smaller images. You can also opt for the more universal .jpg instead of HEIF.
If you don't want to tinker with settings in the Camera app, you can turn off the ProRaw and resolutions. This will stop them from showing at the top of the app to clean up the interface.
While in the Camera app, you can change the microphone by opening Control Center and tapping the mic alert at the top. You can change the capture mode, too, for audio from within the settings.
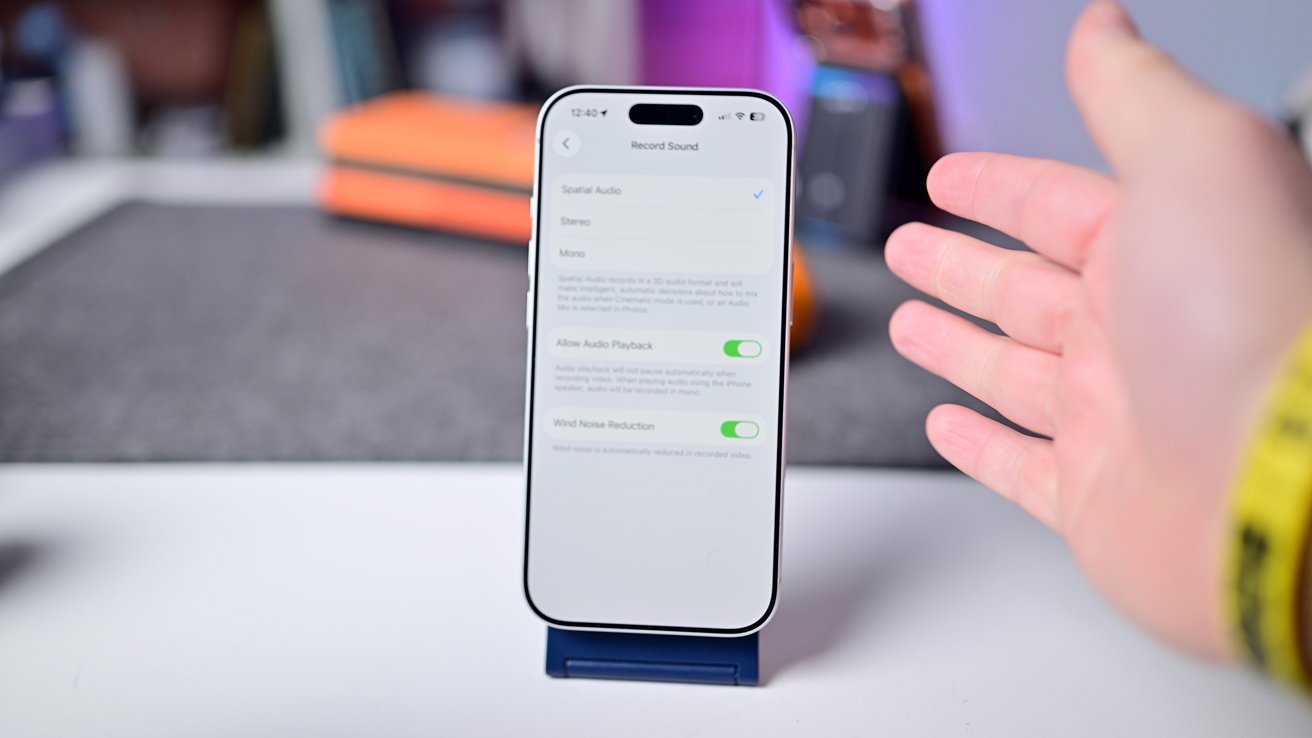
Change audio settings for video capture
We love the Spatial Audio that can be captured using the microphone array. This can be adjusted after the fact to bring out dialogue and reduce background noise.
You can opt to have the Camera app retain your last-used settings. That way, when you open the Camera app, it has the same settings and modes you used last time.
Finally, there are options for the interface to show a grid, show a level, or mirror the selfie camera.
Read on AppleInsider
Comments