
📌 1. Introduction
In today’s fast-paced development world, hosting frontend applications with speed, scalability, and security is essential. If you’ve built a React app and want to deploy it quickly with CI/CD and HTTPS, AWS Amplify is a perfect solution. And the best part? You can access your app using your own custom domain—even if it's hosted on third-party DNS provider like GoDaddy.
In this guide, I’ll walk through hosting a React app on AWS Amplify and linking it to a custom subdomain like https://subdomain.yourdomain.com.
🌐 2. Why Use AWS Amplify to Host Frontend Apps?
AWS Amplify is a full-stack hosting and deployment platform from AWS designed for modern web and mobile applications.
✅ Benefits of AWS Amplify for Hosting Frontend Apps:
- - Zero server management
- - CI/CD integration with GitHub, GitLab, Bitbucket
- - Global CDN for faster content delivery
- - Free SSL certificate with automatic HTTPS
- - Custom domain support
- - Preview environments for every Git branch
- - Authentication, APIs, and storage if you expand to full-stack
- - It makes deployment as simple as connecting your GitHub repo and clicking "Deploy".
📦 3. Clone a Sample React App from GitHub
Let’s get started with a simple Tailwind CSS + React frontend.
📁 Step-by-step:
# Clone the sample repo
git clone https://github.com/alokshanhbti/amplify-react-poc.git

cd amplify-react-poc

# Install dependencies
npm install

# Run locally
npm start


## If you want to create your own React app:

npx create-react-app amplify-react-poc
cd amplify-react-poc

# Install TailwindCSS
npm install -D tailwindcss postcss autoprefixer
npx tailwindcss init -p

# Run the App Locally
npm start
Your app opens in your browser at http://localhost:3000

# Then push it to GitHub:
git init
git add .
git commit -m "Initial commit"
git branch -M main
git remote add origin https://github.com/YOUR_USERNAME/amplify-react-poc.git
git push -u origin main
🔗 Summary GitHub Repo Structure
amplify-react-poc/
├── public/
├── src/
│   ├── App.js
│   ├── index.css
│   └── index.js
├── tailwind.config.js
├── postcss.config.js
├── package.json
└── README.md
🚀 4. Deployment on AWS Amplify
🌍 Steps to Deploy:
Go to AWS Amplify Console
Click "Create New App"

Choose GitHub → Connect your repo (amplify-react-poc)

Select the main branch and click Next


Amplify auto-detects React → leave build settings as-is


Click "Save and Deploy"

Note : Please check build log if deployment failed.

There was error while build process. So verified the build.setting and checked amplify.yml file.

Added the commands under preBuild section
        - nvm install 20.19.0
        - nvm use 20.19.0
        - node -v
        - npm install
Post Update amplify.yml file


Deployment Completed

App accessible using amplify url

🌐 5. Add a Custom Domain (e.g., from GoDaddy)
Now let’s connect your Amplify app to a custom domain like https://subdomain.yourdomain.com.
To add a custom domain managed by a third-party DNS provider
Sign in to the AWS Management Console and open the Amplify console.
- Choose your app that you want to add a custom domain to.
- In the navigation pane, choose Hosting, Custom domains.
- On the Custom domains page, choose Add domain.

Enter the name of your root domain. For example, if the name of your domain is https://example.com, enter example.com.

Amplify detects that you are not using a Route 53 domain and gives you the option to create a hosted zone in Route 53.

Once hosted zone created add those nameservers to your Domain provider.


Now add your subdomain and wait for DNS record be create for SSL creation

As my nameservers are changed to Route53 then we don’t have to do anything Amplify will add these records to route 53


Domain activation completed

🔓 6. Access the App Using Custom Domain
After DNS propagation and SSL verification (usually < 1 hour):
✅ Your app will be available at:
https://subdomain.yourdomain.com
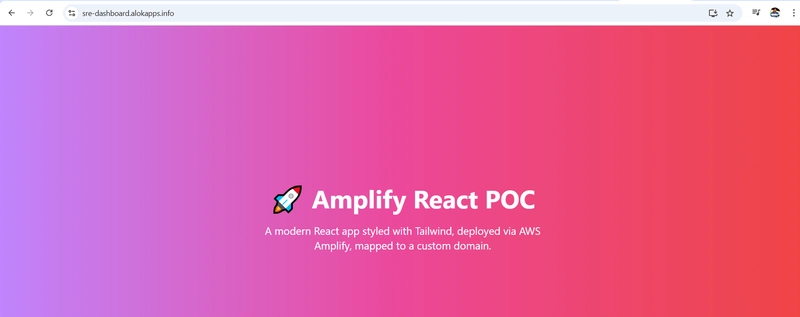
It will be fully secured with HTTPS using a free AWS-issued SSL certificate.
🧰 7. Troubleshooting Steps
🔧 Problem                        ✅ Solution
❌ Domain verification failed      Ensure correct CNAME is added in GoDaddy
⏳ Stuck in "Pending"              Use https://dnschecker.org to confirm DNS
🔒 No SSL/HTTPS                     Wait for Amplify to finish provisioning or re-add domain
🛑 404 after deployment             Confirm the subdomain is correctly mapped to your app branch
✅ 8. Conclusion
Hosting a React app on AWS Amplify is fast, secure, and scalable. By combining it with your own custom domain—whether it's registered on GoDaddy or any third-party DNS provider—you get a professional-grade deployment pipeline in minutes.
No DevOps, no manual servers, and no complex SSL setups.
Just code → push → deploy

Top comments (0)