
Developing modern web applications typically involves integrating a robust backend with a responsive, user-friendly frontend. In this article, we will explore a practical example of building both the frontend and backend using Spring Boot and React. We’ll then containerize the application and orchestrate it using Kubernetes.
spring-boot-react-example is a full-stack project that demonstrates how to build a modern web application using Spring Boot for the backend and React for the frontend. The backend handles RESTful APIs, business logic, and data access (often with Spring Data JPA and a relational database), while the frontend provides a dynamic user interface built with React. The project typically showcases integration between the two layers using JSON-based API calls, and it's often used as a template for building scalable, full-stack applications.
Frontend refers to the part of a website or application that users interact with directly. It includes everything you see on the screen—like buttons, text, images, and layout. Technologies used include HTML, CSS, and JavaScript.
Backend is the behind-the-scenes part that handles data, business logic, and server operations. It communicates with the frontend and stores/retrieves information from databases. Technologies used include languages like Python, Java, Node.js, and databases like MySQL or MongoDB.
Recommended Tools and Technologies:
Visual Studio Code – A powerful, lightweight source-code editor optimized for development across multiple programming languages and frameworks.
Docker Desktop – A platform for building, managing, and deploying containerized applications seamlessly across environments.
Kubernetes – A leading container orchestration platform for automating deployment, scaling, and management of containerized applications.
Steps to Build an application using Spring-boot-react-example
Step 1
Open your Visual Studio Code, navigate to your terminal and clone the project using _git clone https://gitlab.com/cloud-devops-assignments/spring-boot-react-example.git

-Open the cloned project by clicking open folder
_

You should see this new page showing the project folder

Step 2
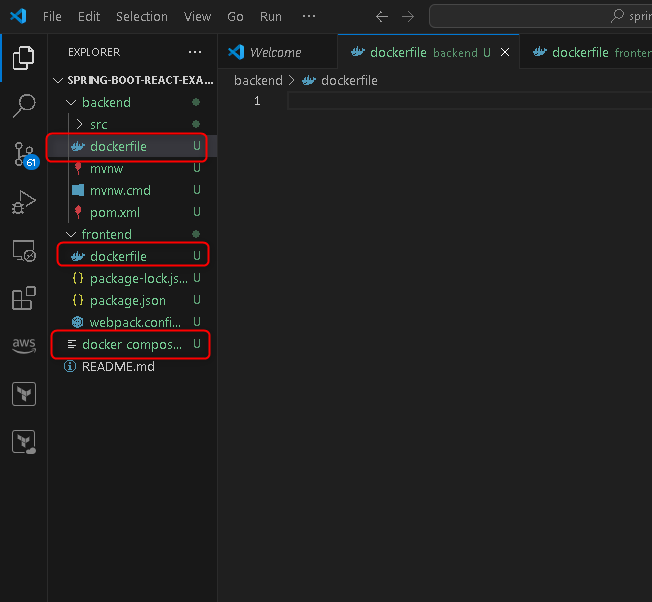
Create a frontend and backend folder in the project

Move backend folders and files to backend, so also frontend


Step 3
- Create a docker file for both frontend and backend, also create a docker compose file for the main project


Step 4
Build your container (make sure your docker desktop is running)
A.
cd into the frontend and install dependencies using (npm install and npm run build)


B.
- cd into your backend folder

- Use mvn clean install to build your project from scratch, run all tests, and install the resulting package into your local Maven repository.

C
cd into the root folder of the main project to run the docker-compose.yml
Use docker-compose build to build your image, this will build both frontend and backend dockerfile together putting them in one container


D
use $ docker run -p 8080:8080 spring-boot-react-example-backend:latest and $ docker run -p 3000:80 spring-boot-react-example-frontend:latest to map container ports to your host machine


Step 5
Open your docker desktop to verify your container and images created


Here you can see both images are running, now lets check if the ports are opened. Click on the ports to open in a browser

see the ports are accessible


Step 6
Push the images to docker hub repository
A
In your docker desktop, navigate to the terminal, choose Git bash. Enter $ docker login

enter
- docker tag imagename docker yourusername/imagename to tag the image
 do it for both frontend and backend


B
Now lets push to docker hub repository
click on the 3 dots at the right side of your tagged docker image, then click push to docker hub, do for both frontend and backend
![]()

image in docker hub repository

Step 7
Now let us deploy it to Kubernetes.
A
let's create a deployment.yaml file and service.yaml file for frontend


MB: Do the same for backend
B
You can deploy directly to docker using kubernetes on the plaform, but I would like to deploy using minkube
lets install minikube on powershell using choco install minikube

Then lets start minikube using docker driver (use bash terminal) minikube start --driver=docker

Check if minikube is running minikube status


C
Now lets deploy our frontend
kubectl apply -f deployment.yaml
kubectl apply -f service.yaml

Check pod and service
__kubectl get pods and kubectl get services


here you can see that the frontend pod is running
NB: do the same for backendStop and delete minikube for both frontend and backend
minikube stop
minikube delete


Conclusion
By walking through this practical example of building, containerizing, and orchestrating a full-stack application using Spring Boot and React, you've gained hands-on insight into how modern web applications are developed and deployed in the cloud-native era. From organizing the project structure to writing Dockerfiles and deploying to Kubernetes via Minikube, this guide showcases the power of combining popular frameworks and platforms to create scalable and maintainable applications.
This workflow not only mirrors real-world DevOps practices but also prepares you for managing production-ready deployments across various environments. Whether you're a developer, DevOps engineer, or learner aiming to bridge the gap between development and operations, mastering this process is a strong step toward building robust, cloud-native applications.

Top comments (0)