 Tamas Feher
You can Make high quality custom printed decals at home
All you need is a 3D printer and about ten bucks in parts.
Here is a time-lapse of the process of stamping my logo on a part:
History
I've been exploring how to add decals to my BRJ_019 project.
I tried Dry transfer decals, but they failed to stick to my coated parts. Waterslide decals sounded good, but I didn't want the backing material to be visible. Vinyl cut decals didn't have the small size I needed.
Then I found an industrial process using silicone stamps to print patterns.
That got me curious. Could I shrink it down to hobbyist scale?
Turns out the nail art community has been doing this for decades.
So I bought some gear and started experimenting.

Tutorial
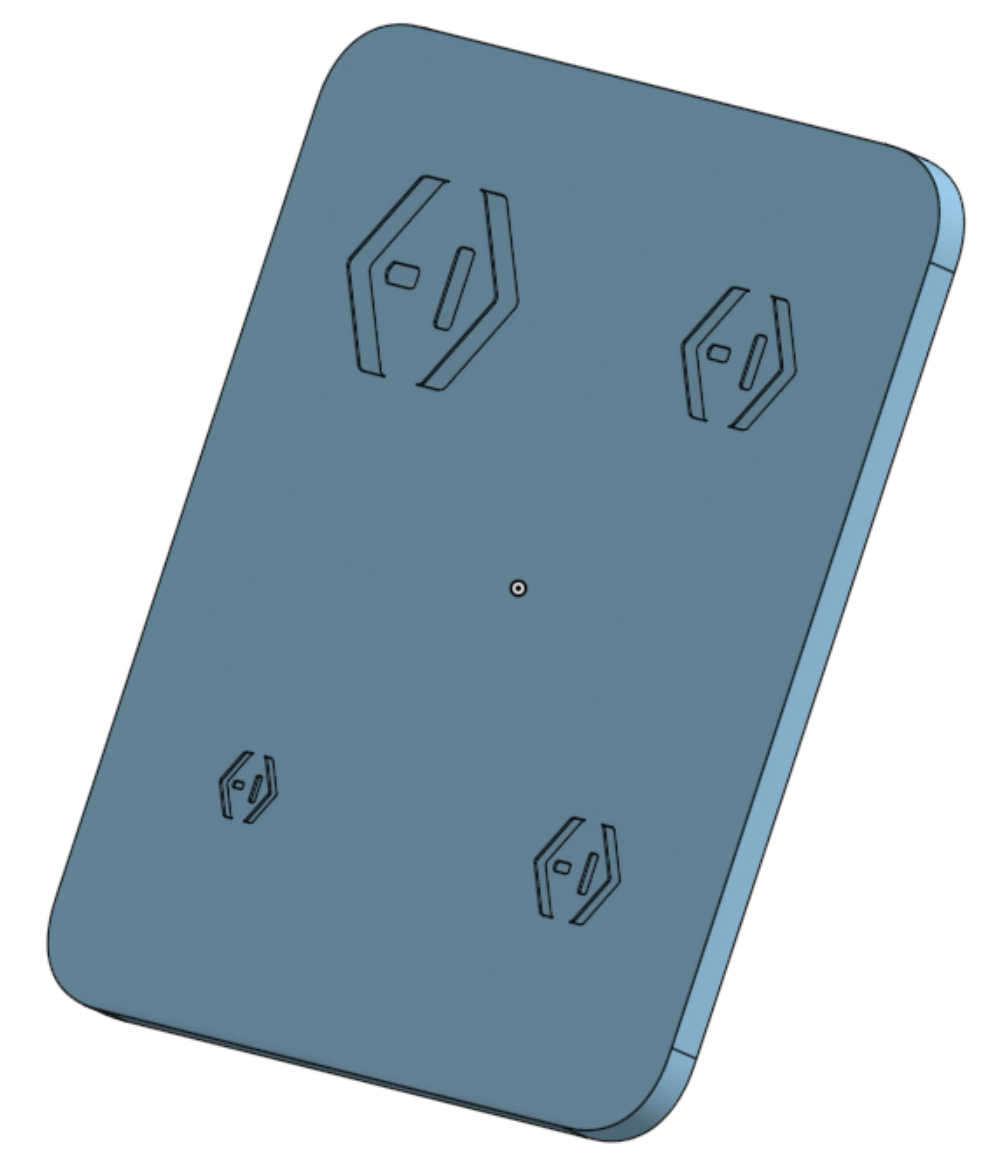
Step 1: Design the stencil
First Make a vector graphic of your design, and import it into your favorite 3D modelling software. I am using onshape, and the best way to do it, is to save it as a .dxf, and import it as a sketch.
First make a rectangular card of around 2 mm thickness big enough to host your design and at least 5 mm around it.
Then Inset your design by 0.15 mm on the top surface. This value worked the best for me, but depending on the size of your design, you might need it deeper.
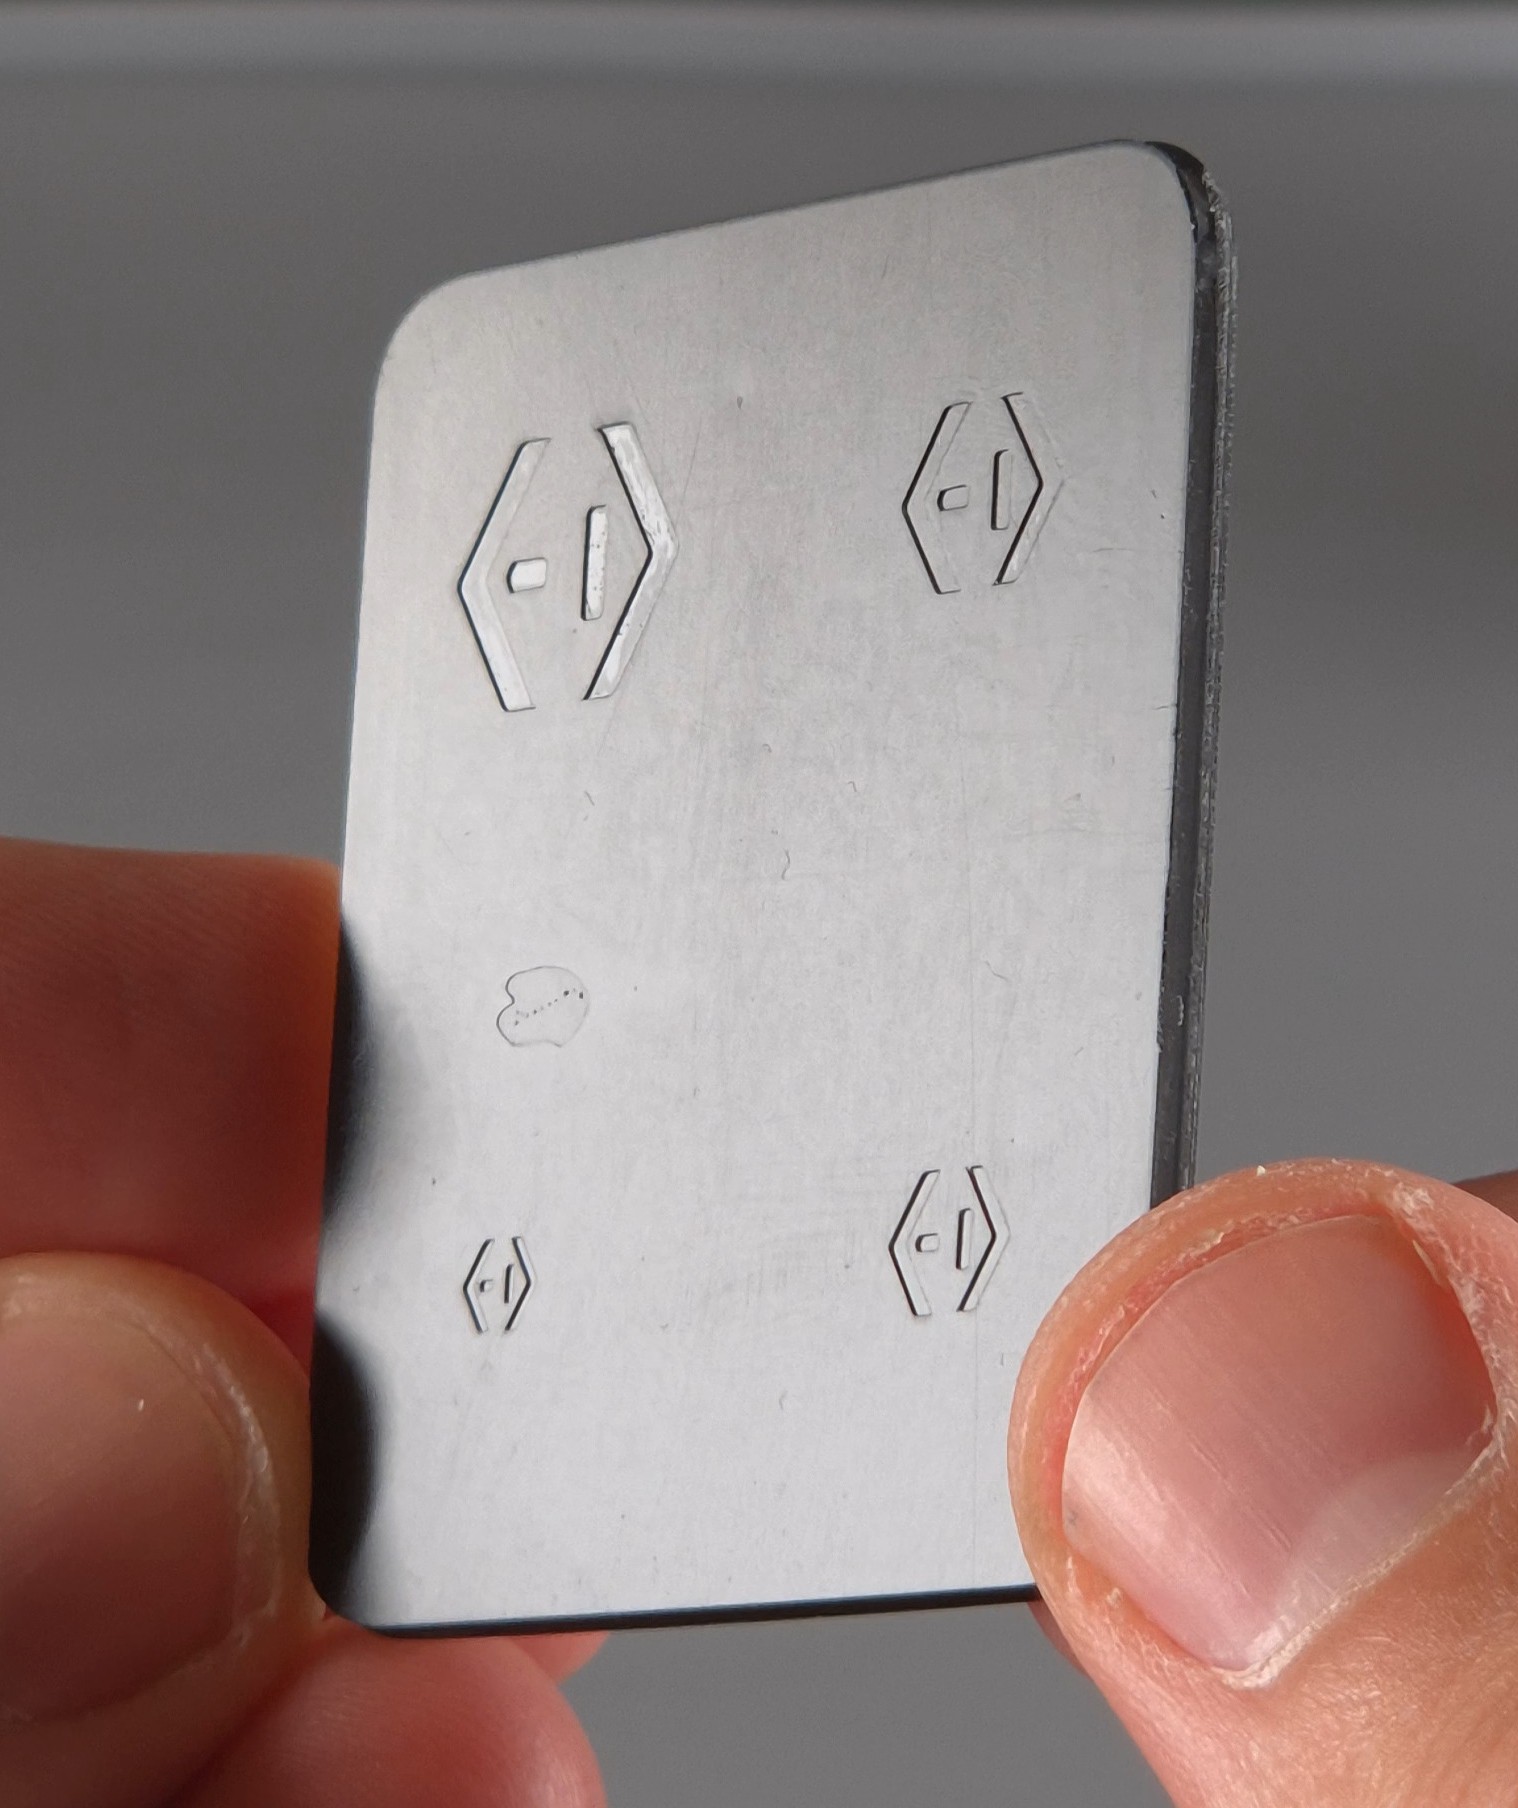
Step 2: Print it
I use a resin printer for the extra resolution. If you have an FDM printer, your mileage may vary.
Position your stencil part flat on the buildplate, this way maximizing your resolution.
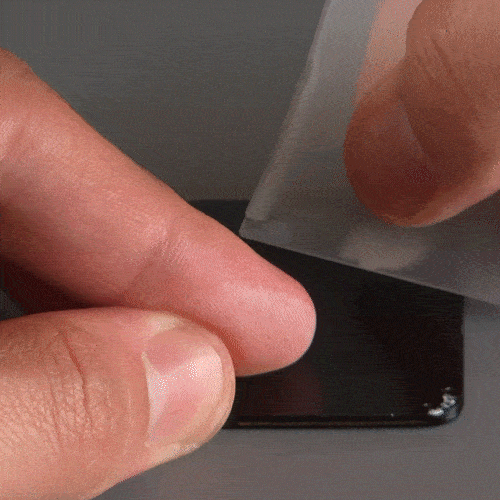
Step 3: Paint it
Next, the paint. I used Nail polish designed for nail stamping. It has high pigmentation, so you would get better coverage from a single stamping.
Cover your design with the nail polish and with an old credit card using a single swipe wipe away the excess from the top of your stencil, leaving the paint only in the inset.
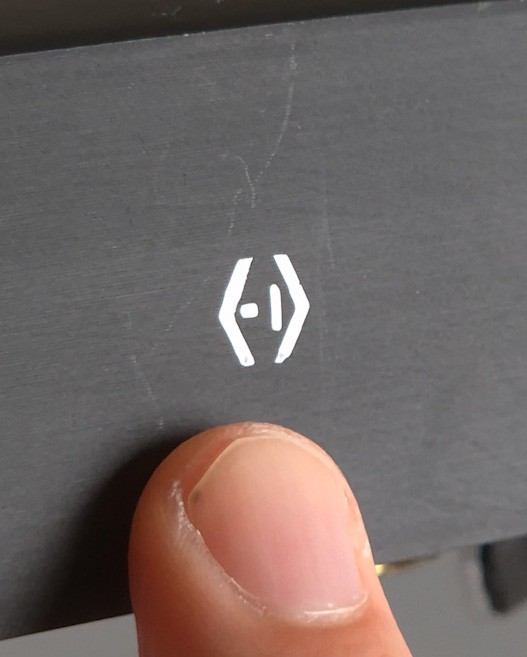
Step 4: Stamp it
Then grab the stamper, and with a decisive vertical motion press it onto the design. If done well, it will pick up the paint from the crevices of the stencil.
For the stamper I used the Mylee "Stamp it out" nail art stamper, but any other brand will do.
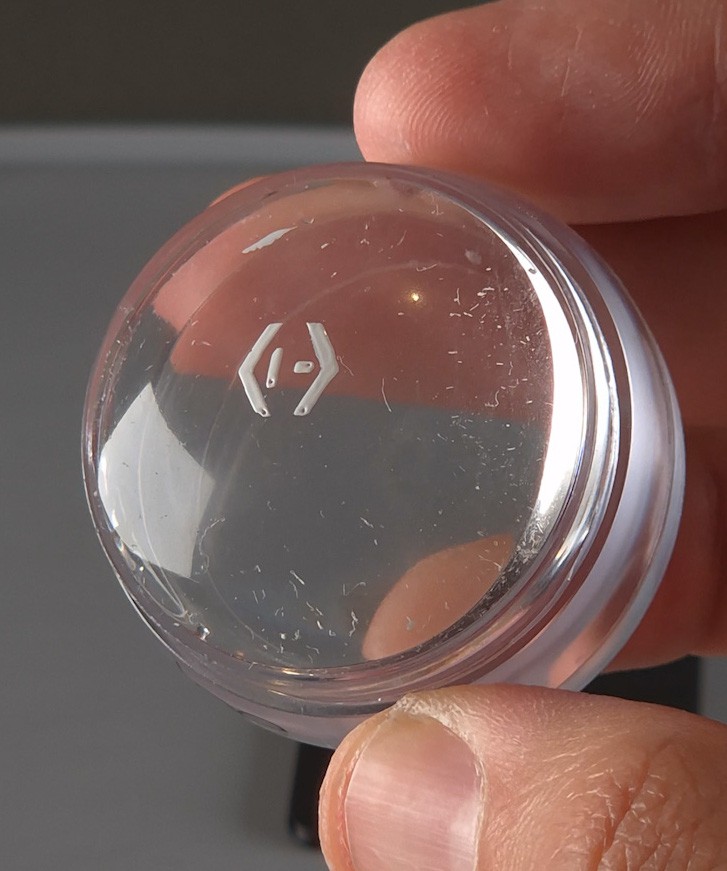
Now you can transfer your design over to your target surface, with the same decisive vertical motion. The stamper will deposit the paint onto the surface, preserving the features of your design.
The nail polish can dry within seconds, so make sure to be quick with these steps. Also have some nail polish remover or acetone at hand. If you want to reuse your stencil, you need to clean it immediately after use.
Summary
This method can hit details as fine as 0.1 mm.
You can make crisp, durable, professional-looking decals on just about any surface metal, plastic, or uneven surfaces.
It’s a neat crossover between 3D printing and nail art.
 Francesco
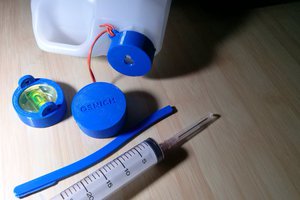
 ProgressTH
 Russell Hay